By Dr. Jamie Phillips, DPT, CSCS
Your player just posted a monster double-leg broad jump. Best in his age group. Hang the number on the fridge. Problem: hockey isn’t played on two legs at once.
Every stride is one leg pushing while the other recovers. Every crossover, stop, and battle along the wall. One leg at a time, three periods. So when we ran our first round of team testing this season, the biggest gap we found wasn’t strength or speed. It was left leg versus right leg. Roughly a third of the players we tested jumped more than 10 percent farther on one leg than the other. One in three. Most looked great on double-leg tests. Their strong side was hiding the weak one.
This is fixable. Here’s what our testing found, why double-leg numbers lie, and the three-stage progression we use to close the gap. No guessing. Numbers and a plan.
The short version:
- Hockey is a single-leg sport. Every stride, crossover, stop, and push loads one leg at a time.
- Double-leg tests hide asymmetry: the strong side quietly takes the load and the weak side coasts.
- About one in three players we tested had a left-right gap of 10 percent or more on the single-leg broad jump. That is the number coaches must act on.
- The fix is a three-stage progression: own the position, build the force, apply it to skating. Weak leg first, in that order.
- Retest every 8 to 12 weeks. The gap should drop below 10 percent and keep tightening toward 5 percent or less.
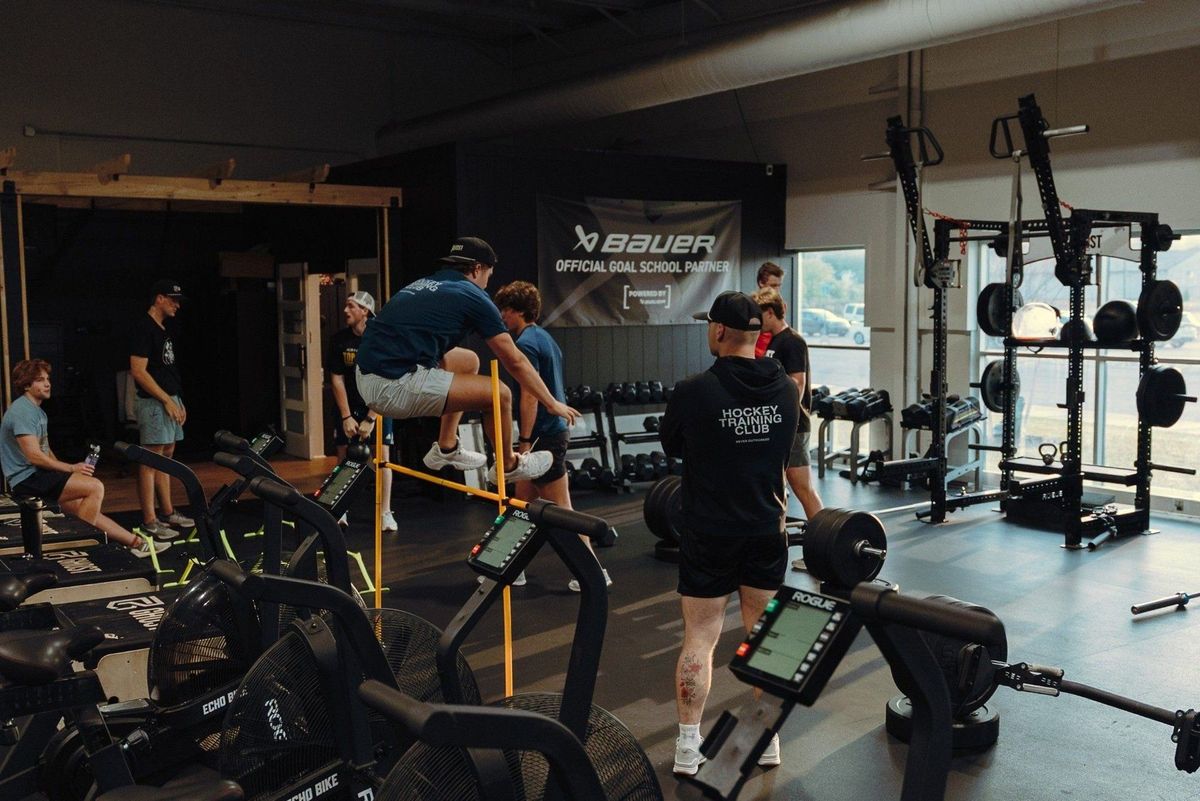
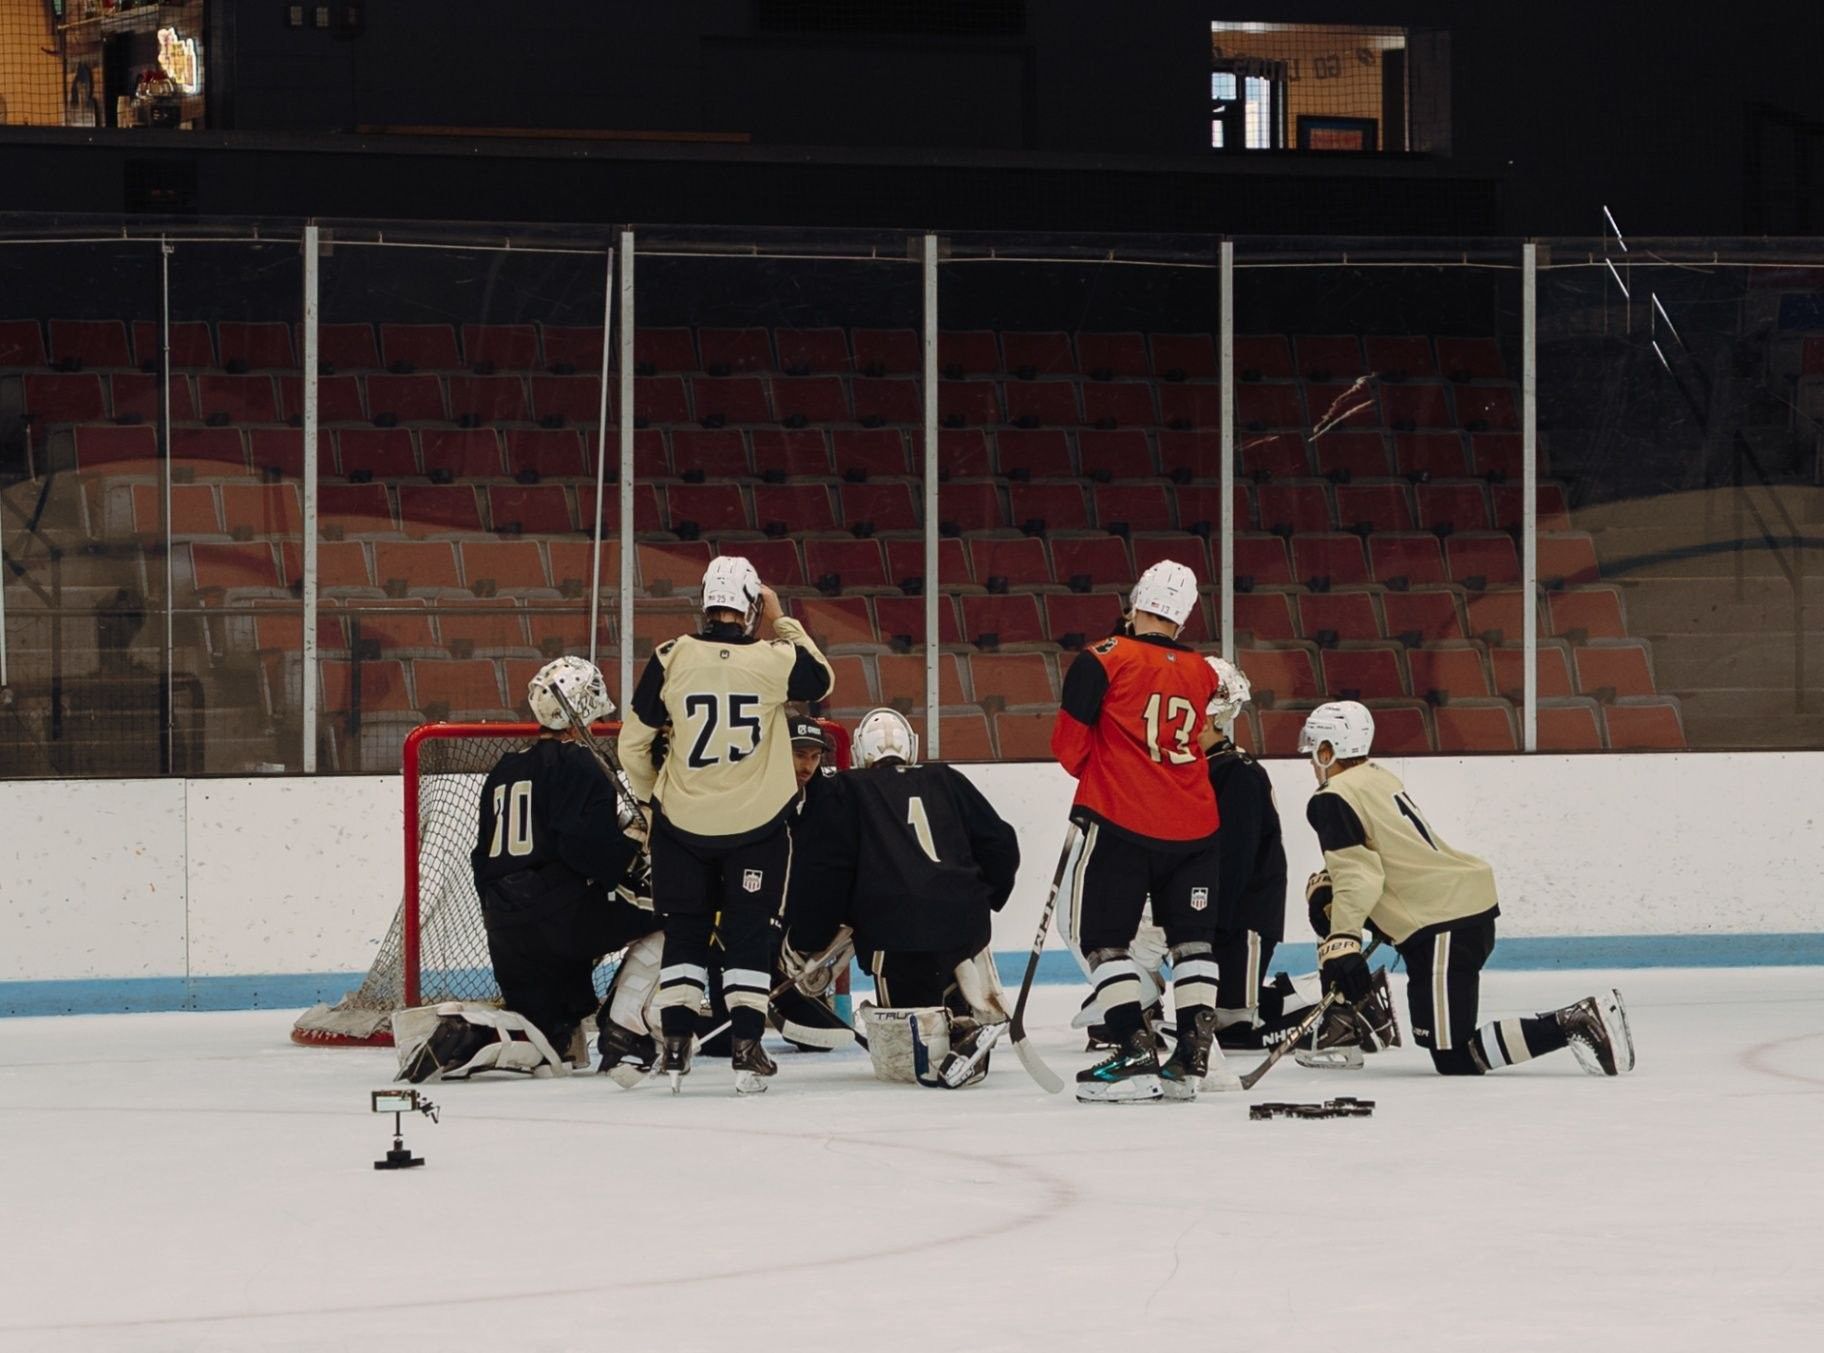
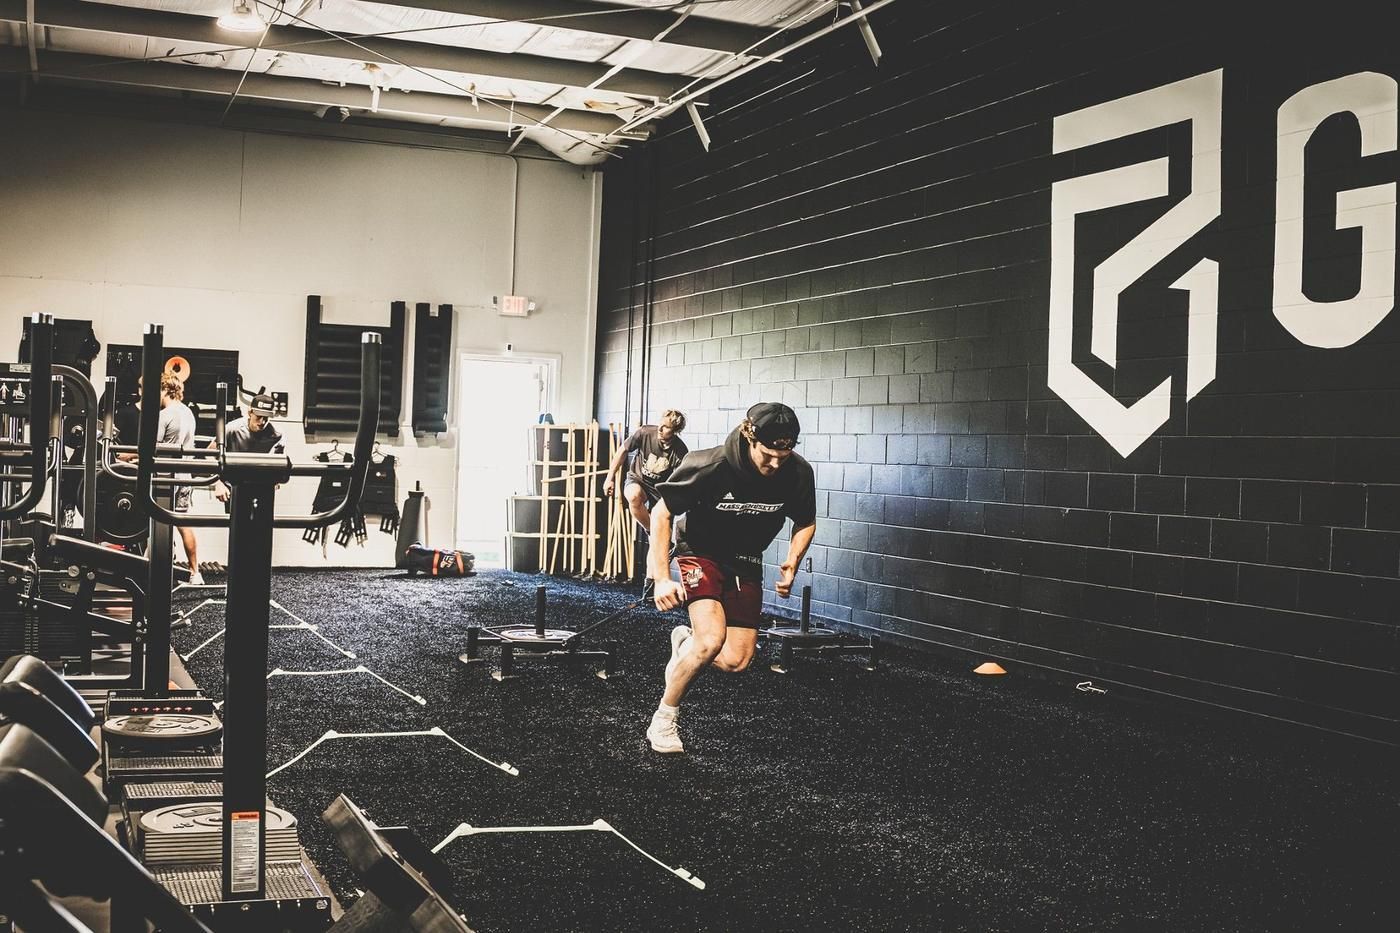
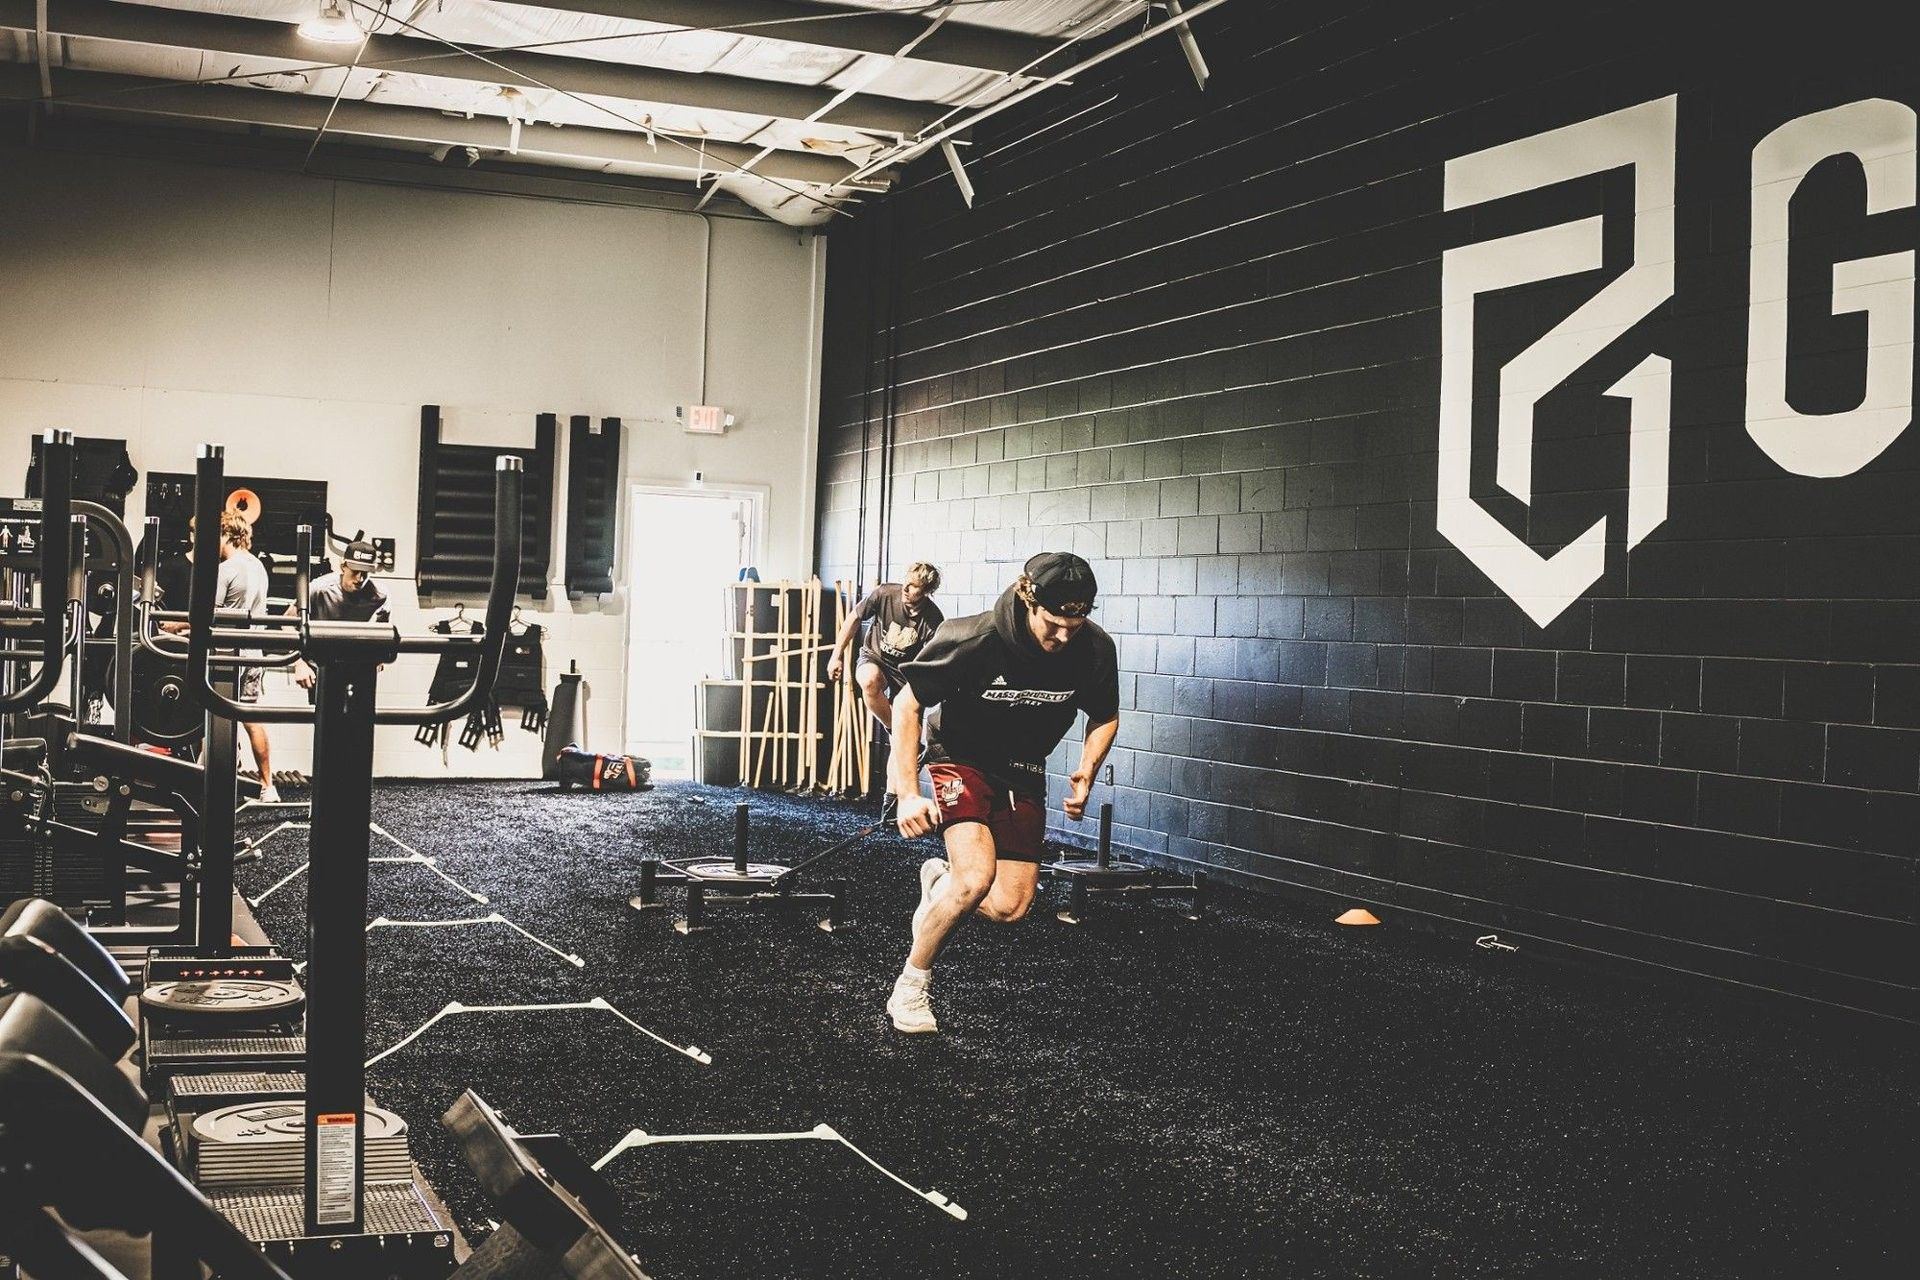
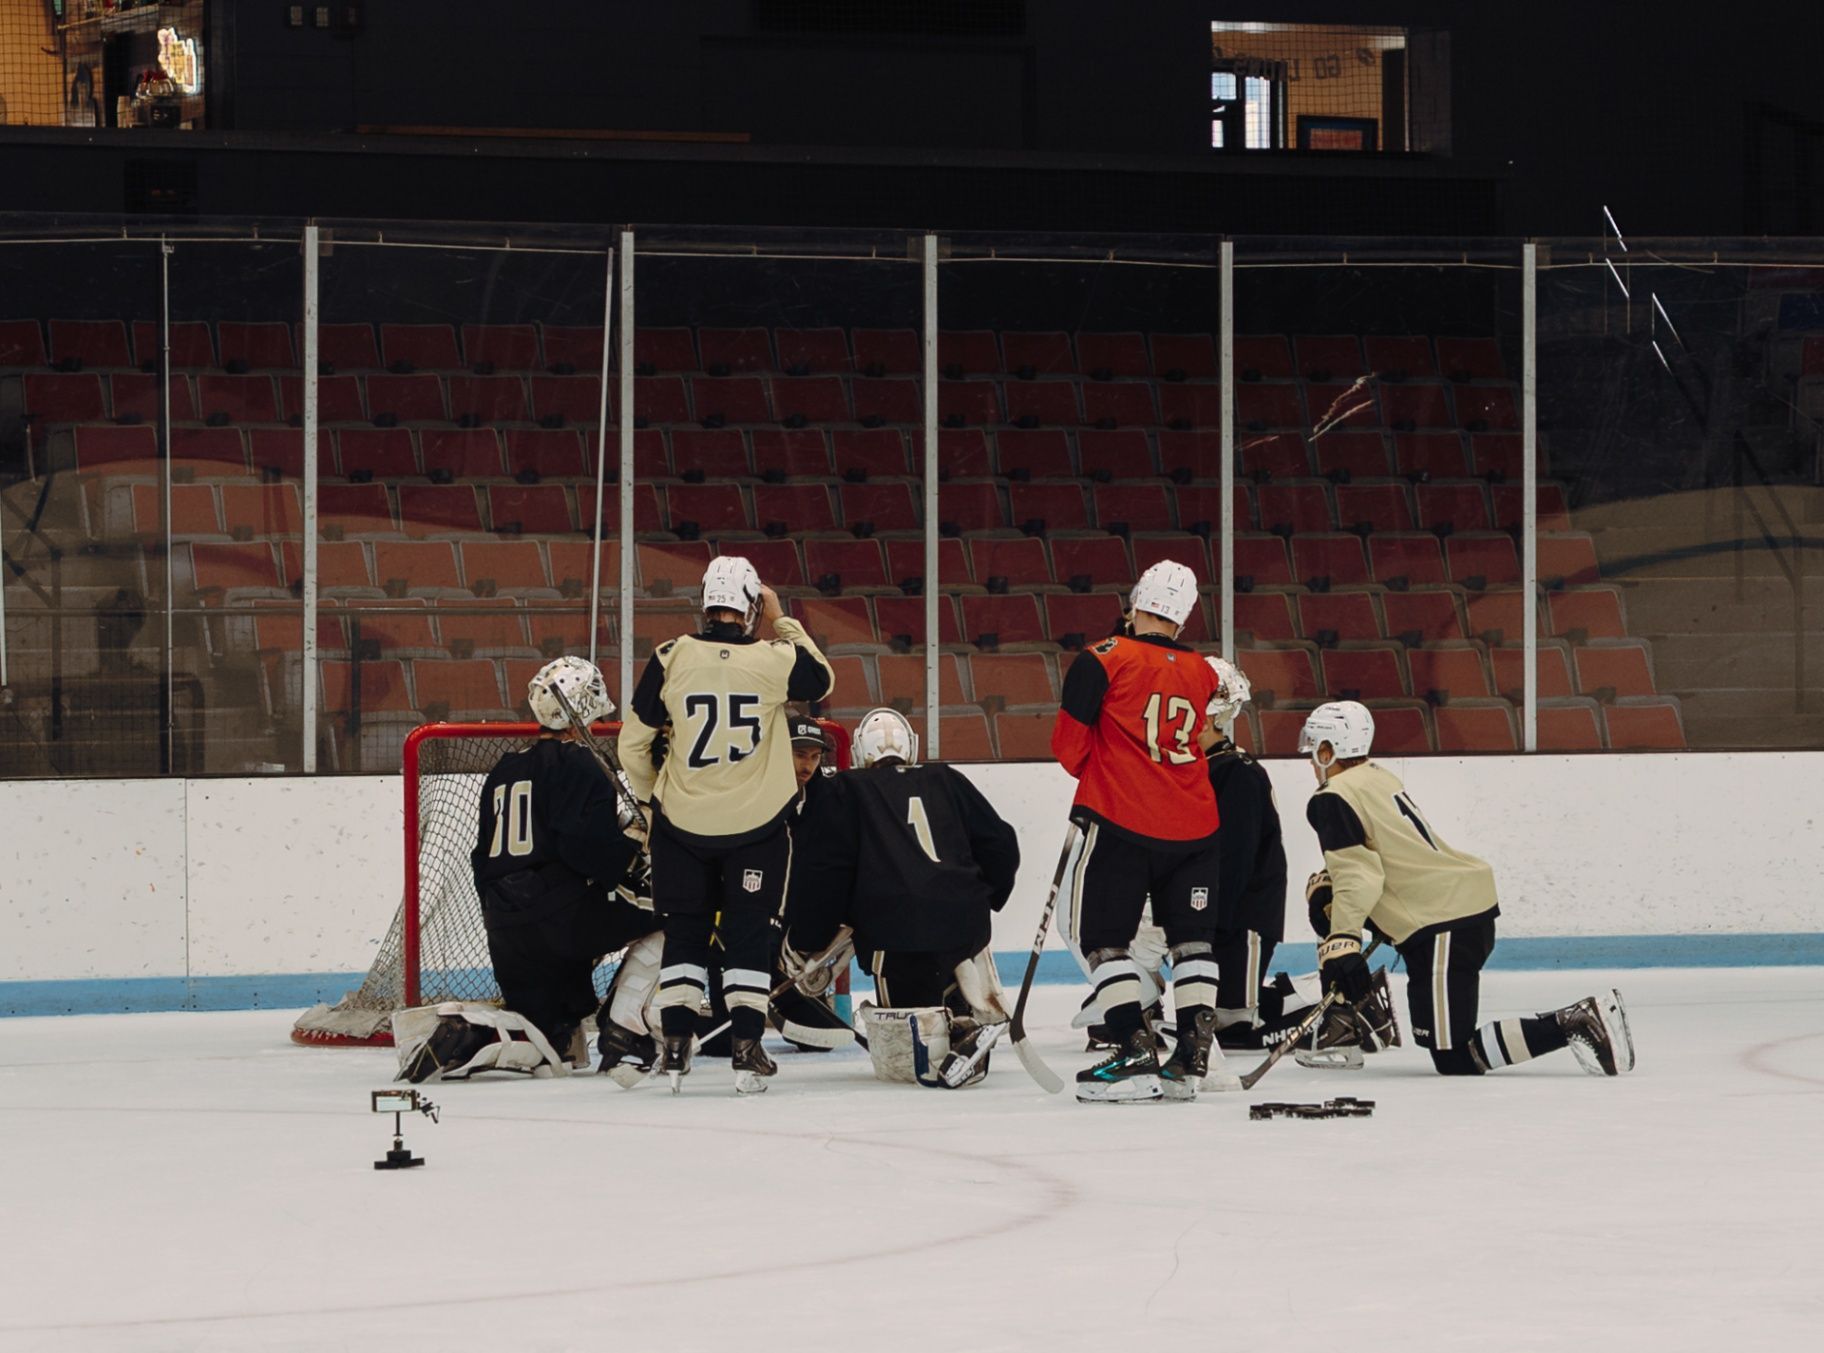
Team testing day at Ghost Athletica. The jump numbers tell one story; the left-right split tells the real one.
What Single-Leg Strength Actually Is
“Single-leg strength” gets thrown around everywhere, so let’s pin it down.
Single-leg strength is your ability to produce force, stay stable, and control your body while standing, pushing, or landing on one leg. Not two legs moving a barbell. One leg holding all of it.
Three things we test and train:
- Force production: how hard you can push with one leg, measured with the single-leg broad jump.
- Stability: whether your knee, hip, and ankle hold their position under load, or wobble and cave.
- Control: whether you can repeat the first two cleanly, on demand, on both sides.
Why does this matter for hockey more than almost any sport? Skating is a single-leg action. Every stride is one leg driving into the ice while the other swings through. Every push, crossover, and stop loads one leg at a time. If one side produces less force or loses control sooner, that side caps your skating.
The weak side doesn’t just cost you speed. It shows up in edge control under load, contact stability, and the stress it dumps on your groin, hips, and knees. I’ll say it plainly as a physical therapist: the injuries we rehab most often in hockey players are exactly the ones a hidden asymmetry feeds.
Why Double-Leg Numbers Hide the Problem
Your player squats well and jumps well. Both legs together, he looks like an athlete. Everyone moves on.
But two legs working together let the body find a loophole: the stronger side quietly takes more load and the weaker side coasts. Sports scientists call this the bilateral deficit. Skip the jargon. Know what it does: it lets double-leg tests hide the problem.
Example straight off our testing floor. A 16U player broad jumps 250 cm with both legs. Great number, top of his age group. Single-leg: 190 cm off the left, 220 cm off the right. A 15 percent gap hiding inside a highlight-reel number. On the ice, that left leg gives up every third stride and every overtime shift. Nobody sees it on a two-legged test. Everybody sees it when he loses a battle he should win.
When should you care? Double-leg numbers show whether your player has a base of strength and power. Single-leg numbers show whether that base reaches the ice. Clean single-leg picture? The squat work transfers. Lopsided? More squats just build a stronger compensation.
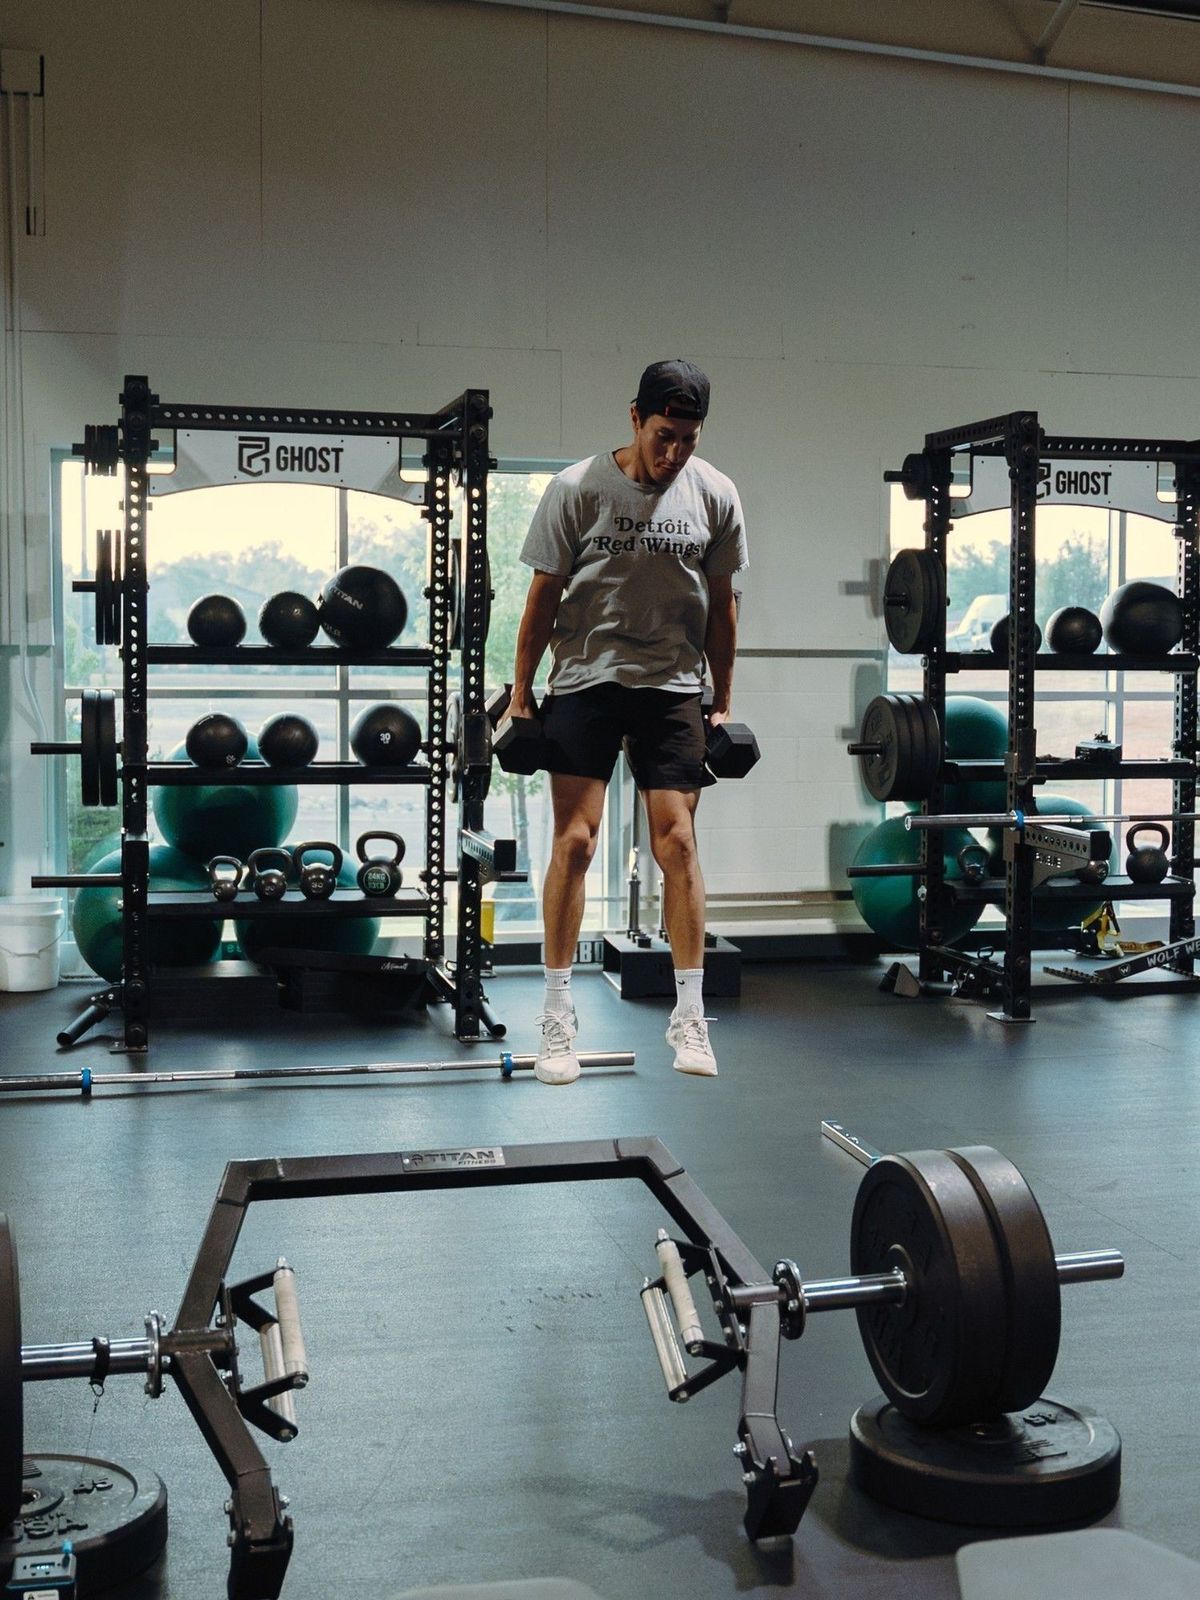
Two legs together let the strong side cover for the weak one. The single-leg tests take the cover away.
What Our Team Testing Found
We test our teams every season: jump tests, sprint tests, single-leg work, all hard numbers. Here’s what this season’s first round showed.
The headline: the biggest gap across the players we tested was not strength or speed. It was asymmetry. Roughly a third of the players we tested jumped the single-leg broad jump more than 10 percent farther on one leg than the other. A 10 percent or greater left-to-right difference is the number coaches must act on. Below it, small differences are normal and usually settle on their own. At or above it, the weak leg gets trained less every session, the strong leg keeps covering, and the gap grows.
Here are the reference ranges we test against, by age group. These are our testing standards from our own team data, not universal norms. Body size, maturation, position, and training age matter more than any single number. Read these as context, not a report card.
| Test | 12U | 14U | 16U | 18U / junior |
|---|---|---|---|---|
| Standing long jump (double-leg broad jump) | 150 to 175 cm | 175 to 200 cm | 200 to 220 cm | 220 to 250 cm |
| Single-leg broad jump (average of left and right) | 120 to 140 cm | 140 to 160 cm | 160 to 180 cm | 180 to 200 cm |
| 10-yard sprint, standing start (secondary context) | 2.10 to 2.30 s | 1.95 to 2.15 s | 1.80 to 2.00 s | 1.70 to 1.90 s |
Read this right: a player at the bottom of the range with clean symmetry has a clearer path than a player at the top with a 15 percent gap. The gap is the finding. For the full picture of how we test, see our hockey fitness testing guide.
How to Fix It: The Single-Leg Progression
Closing an asymmetry is boring, consistent, and brutally effective when you follow the order. Here’s how we program it. Do not skip to Stage 3.
Stage 1: Own the Position
Before we add load, each leg has to hold its ground. This stage builds stability and control, and shows players how shaky the weak side really is.
How we program it: 3-4 sets of 20-40 second holds per side, 2-3 times per week, weak leg first.
- Split stance holds, progressing hold time before adding load
- Single-leg balance work, eyes forward, then eyes closed
- Tempo single-leg squats to a box: three seconds down, controlled up
Most players need 3 to 4 weeks here. When the weak leg stops wobbling and matches the strong leg’s control, progress.
Stage 2: Build the Force
Now we load the pattern, and the weak leg finally gets real force work instead of hiding inside two-legged lifts.
How we program it: 3-4 sets of 5-8 reps per leg, 2-3 times per week, weak leg matched to strong.
- Bulgarian split squats, dumbbells or barbell
- Single-leg Romanian deadlifts (RDLs) for the posterior chain
- Step-ups to a box at knee height or higher
Run it 4 to 6 weeks. The target is not soreness. The target: the weak leg producing force that looks like the strong leg.
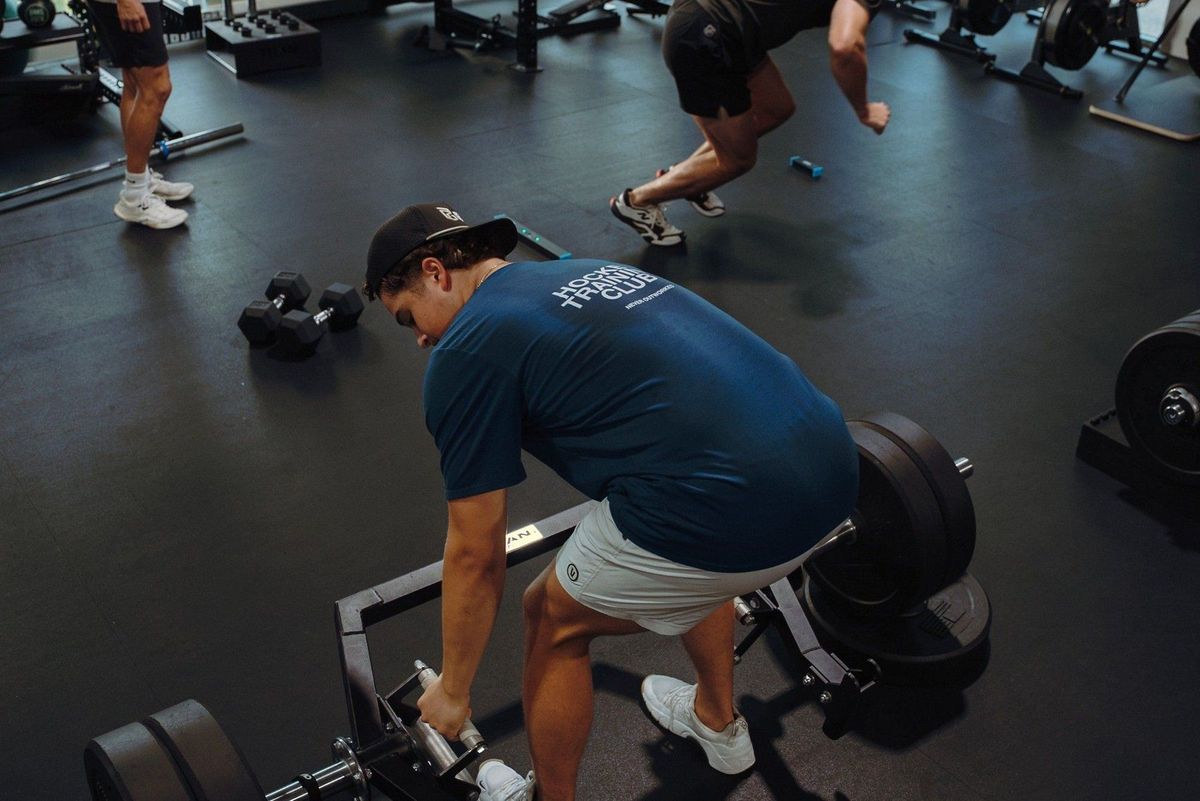
Stage 2 is where the weak leg finally gets real force work instead of hiding inside two-legged lifts.
Stage 3: Apply It to Skating
Strength that never becomes speed is a science project. Stage 3 turns force into power, in directions that show up on the ice.
How we program it: 3-5 sets of 3-6 reps per side, once or twice per week, full recovery between sets. Quality only.
- Single-leg jump progressions, weak leg first, then both
- Lateral bound variations, sticking each landing
- Crossover-style step-ups and lateral step work
Keep the jumps honest. Add explosive work on purpose, not because a video looked cool. Our approach to jump training lives in plyometrics for hockey: don’t be dumb about jump training, the landing work pairs with deceleration: the most underrated skill in hockey, and since every edge lives and dies at the ankle, pair Stage 3 with our ankle and edge training guide.
Retest, Don’t Guess
Parents ask me weekly whether the program is working. The honest answer for the first month: you can’t tell yet. That’s fine.
We retest every 8 to 12 weeks. Not weekly. Weekly testing tells you nothing except who slept badly. Improvement looks like:
- The left-right gap drops below the 10 percent line, then keeps tightening toward 5 percent or less
- The average single-leg jump climbs a range, not a few centimeters
- The double-leg jump improves too, because the weak leg finally contributes
If the gap still sits at 10 percent or more after a full training block, the program isn’t working, and we change the program. Testing replaces arguments with decisions. Every number we track and what it means is covered in our complete fitness testing guide.
Goalies: Same Standard, Same Fixes
Goalies, this applies to you just as hard. Your game is built on lateral pushes, post-to-post drives, and recovering on one leg while the other loads. Asymmetry in a goalie isn’t a skating problem. It’s a save problem. Same fix.
Goalies run the same single-leg standard and the same three stages as skaters, with two small tweaks inside the same program: extra lateral push emphasis in Stage 3, plus hip and adductor care through Stages 1 and 2. Same standard, small adjustments, not a separate program. Position-specific work lives on our goalie training page.
Where This Fits in a Complete Plan
Single-leg strength is one input, not the whole machine. It sits inside a complete plan covering full-body strength, speed, conditioning, recovery, fueling, and mindset. The surrounding off-ice work is laid out in the complete off-ice training guide for hockey players, and how it slots into the season lives in our in-season hockey training plan.
The sequence that works: test, find the gap, train the gap, retest. Skip testing, and players spend two years training their strong side harder and calling it development.
Single-Leg Strength FAQ
How much of a difference between legs is a problem?
Our action threshold is a 10 percent or greater left-to-right difference on single-leg jump tests. Below that, small differences are normal. At 10 percent or more, we build dedicated volume for the weak side and retest in 8 to 12 weeks.
Can single-leg strength improve skating speed?
Yes. Every stride is a single-leg push, so more force per leg means more distance per stride. But it's one input among several, alongside technique, stride rate, and mobility. A lever, not a magic fix. The biggest gains come when players fix the asymmetry and keep training the other inputs.
How often should my player train single-leg?
Off-season: 2-3 sessions per week, split between Stage 2 loading and Stage 3 power. In-season: one dedicated session per week on top of games. The weak leg gets equal or greater volume in every phase.
Is single-leg training safe for young players?
Yes, when it's age-appropriate. Young athletes start with bodyweight only: holds, balance work, tempo squats to a box. Quality before load. A 12U player doesn't need a barbell; he needs to own one leg at a time. Load comes when control earns it.
What equipment do we need to start?
Less than you think. Stage 1 needs a floor and a box. Stage 2 adds dumbbells and a bench. Stage 3 needs space to jump and land. Shoes, a box, and dumbbells cover the whole progression.
What You Should Do Next
If your player has never been tested, that’s the first step. Guessing costs more than a test. Guess wrong for a season and you’ve trained the strong leg harder while the weak leg caps his skating, his battles, his durability.
Book a testing session or a full performance assessment. You’ll get real numbers: jump tests, sprint times, and a clear read against our age-group reference ranges. Then we build the plan around gaps, not guesswork. Start at our program finder or head straight to Ghost Athletica in-person training to book.
The numbers already exist. Come find yours.
Coach Jamie Phillips, DPT, CSCS
Ghost Athletica LLC | Hockey Performance Training | Grand Rapids, MI