By Dr. Jamie Phillips, DPT, CSCS
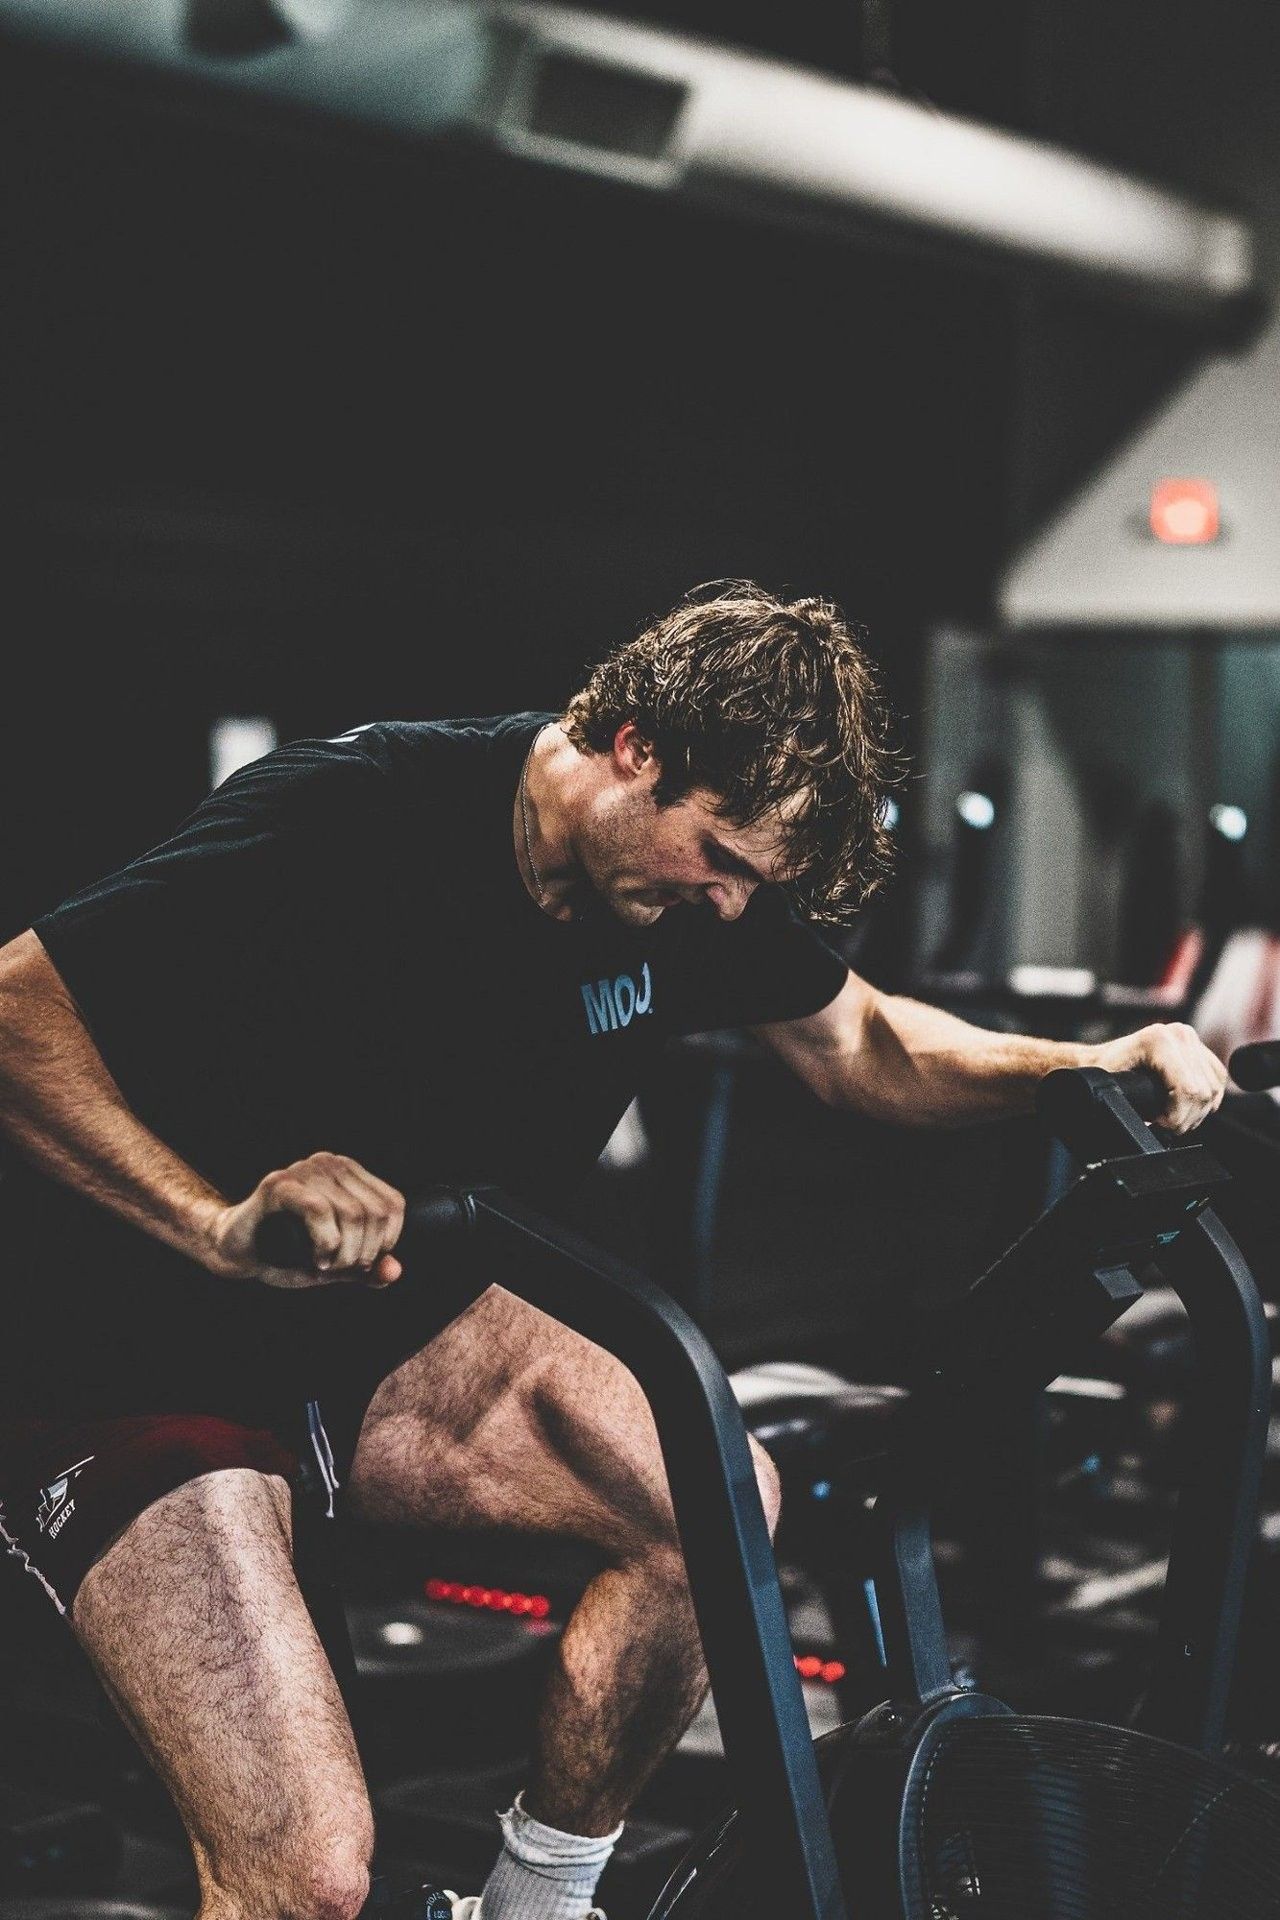
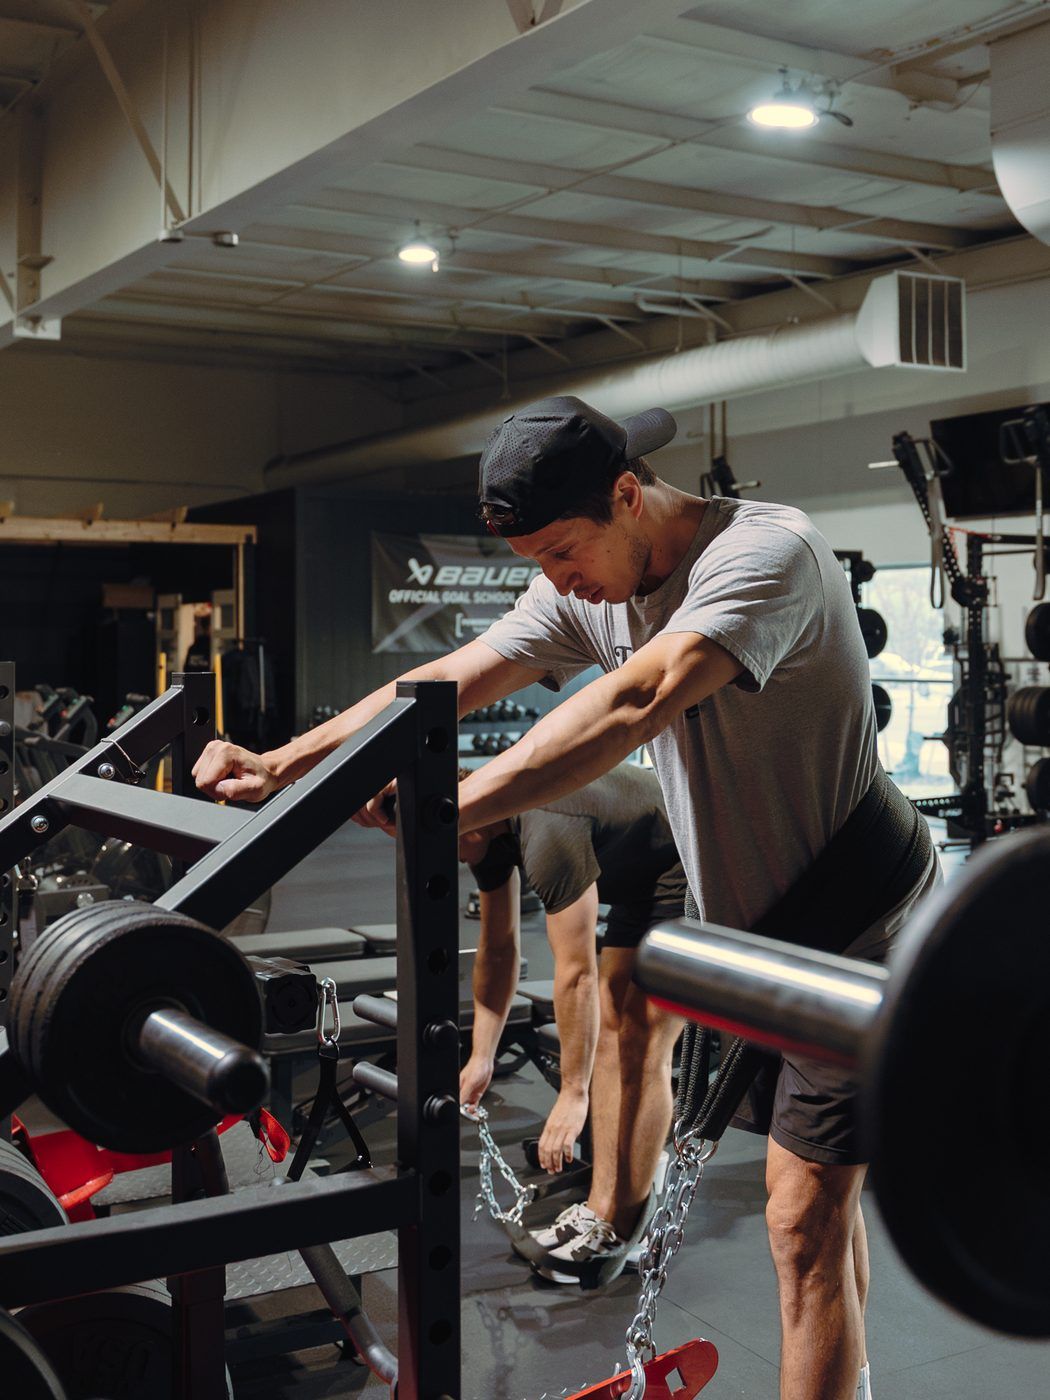
Hockey athlete completing a 20-calorie air bike test during off-ice hockey fitness testing at Ghost Athletica
Stop Guessing. Measure What Is Limiting Your Player.
Your player trains hard. But if nobody measures what that work is changing, progress can feel random. One coach says "get stronger." Another says "work on speed." Your player does more sessions, but you still don't know which quality is holding them back.
Testing replaces guesswork with a clear starting point. Four practical off-ice tests can show where your player produces power, how evenly they use each leg, how quickly they accelerate, and how they handle a hard conditioning effort. The numbers are not a verdict. They are a way to choose more targeted work.
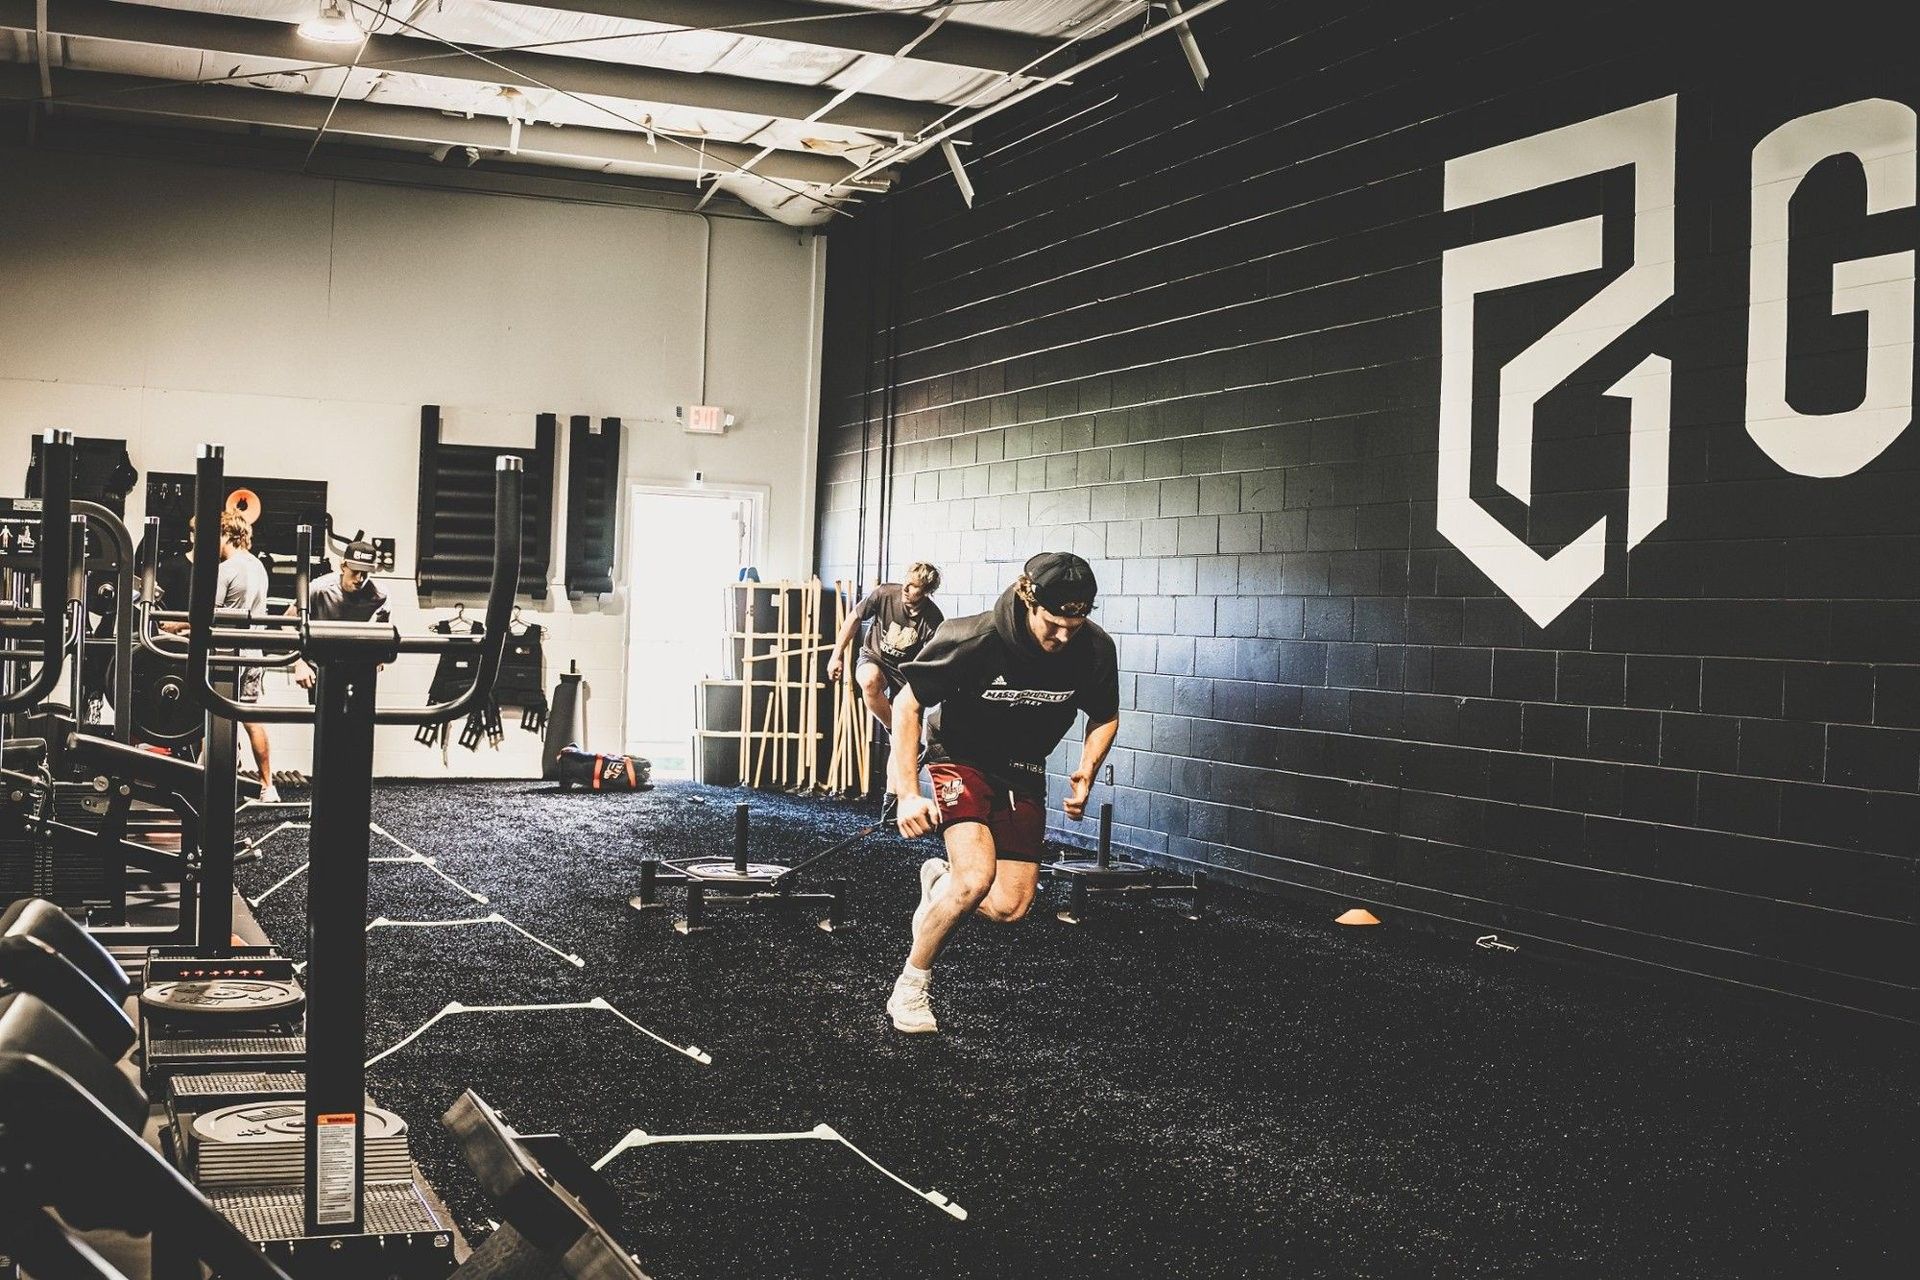
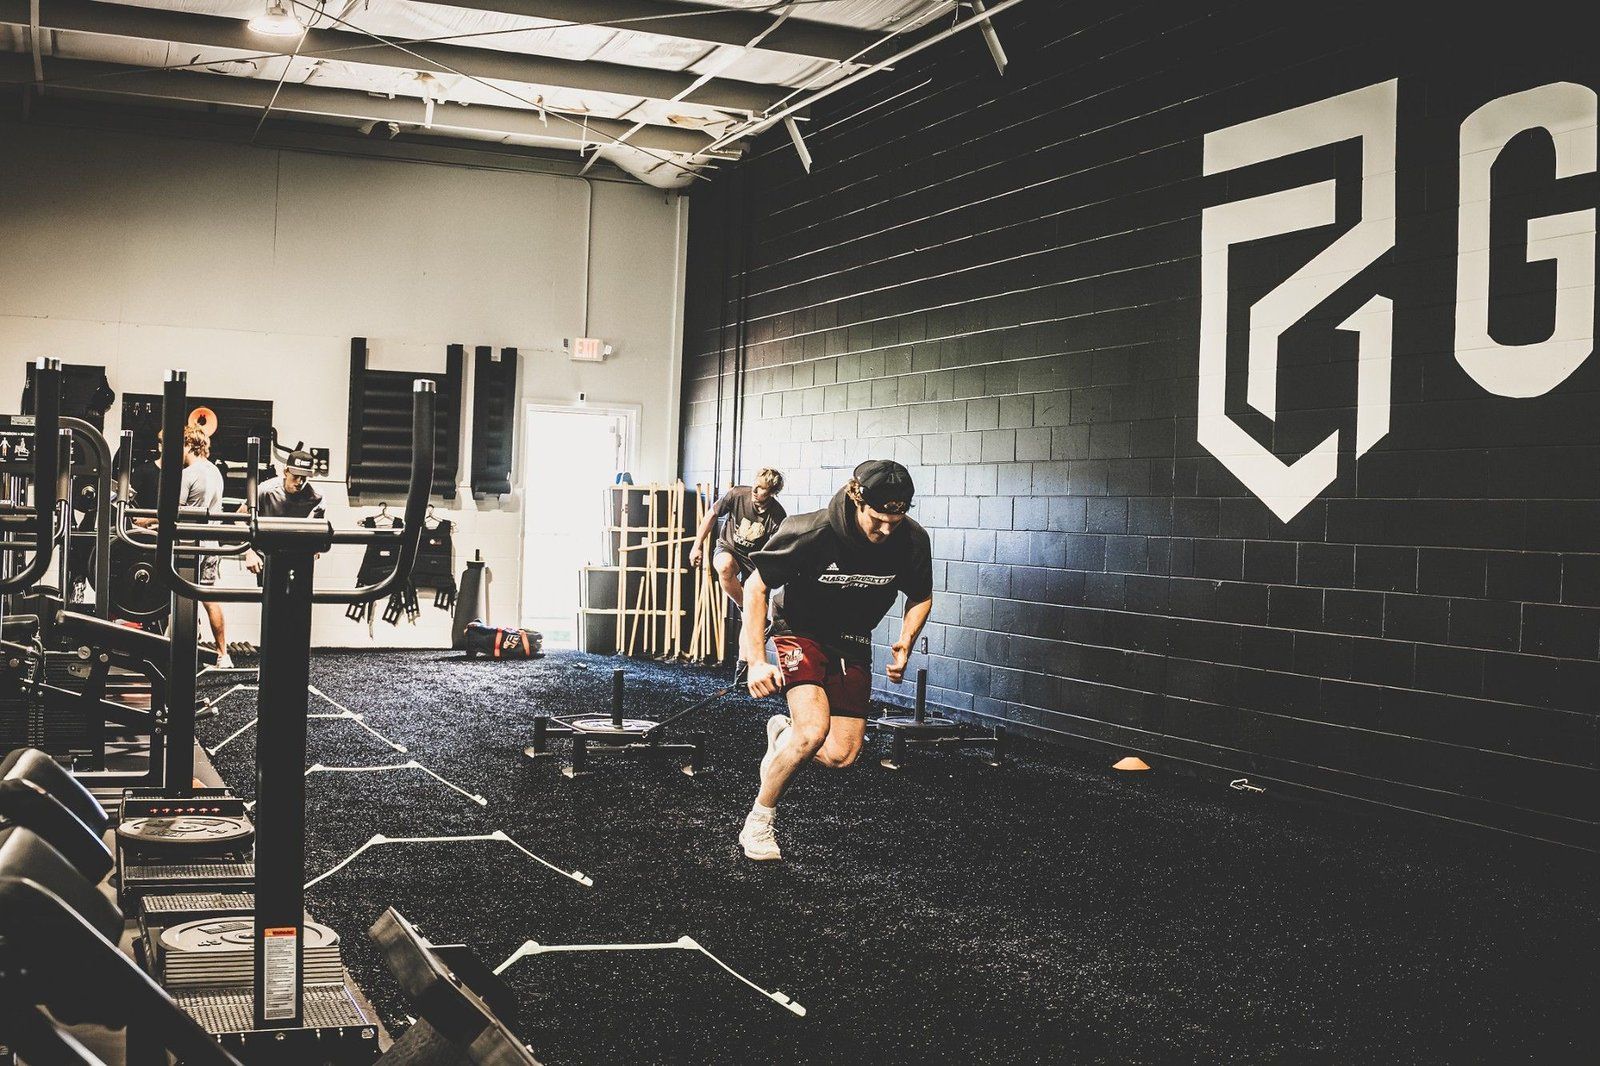
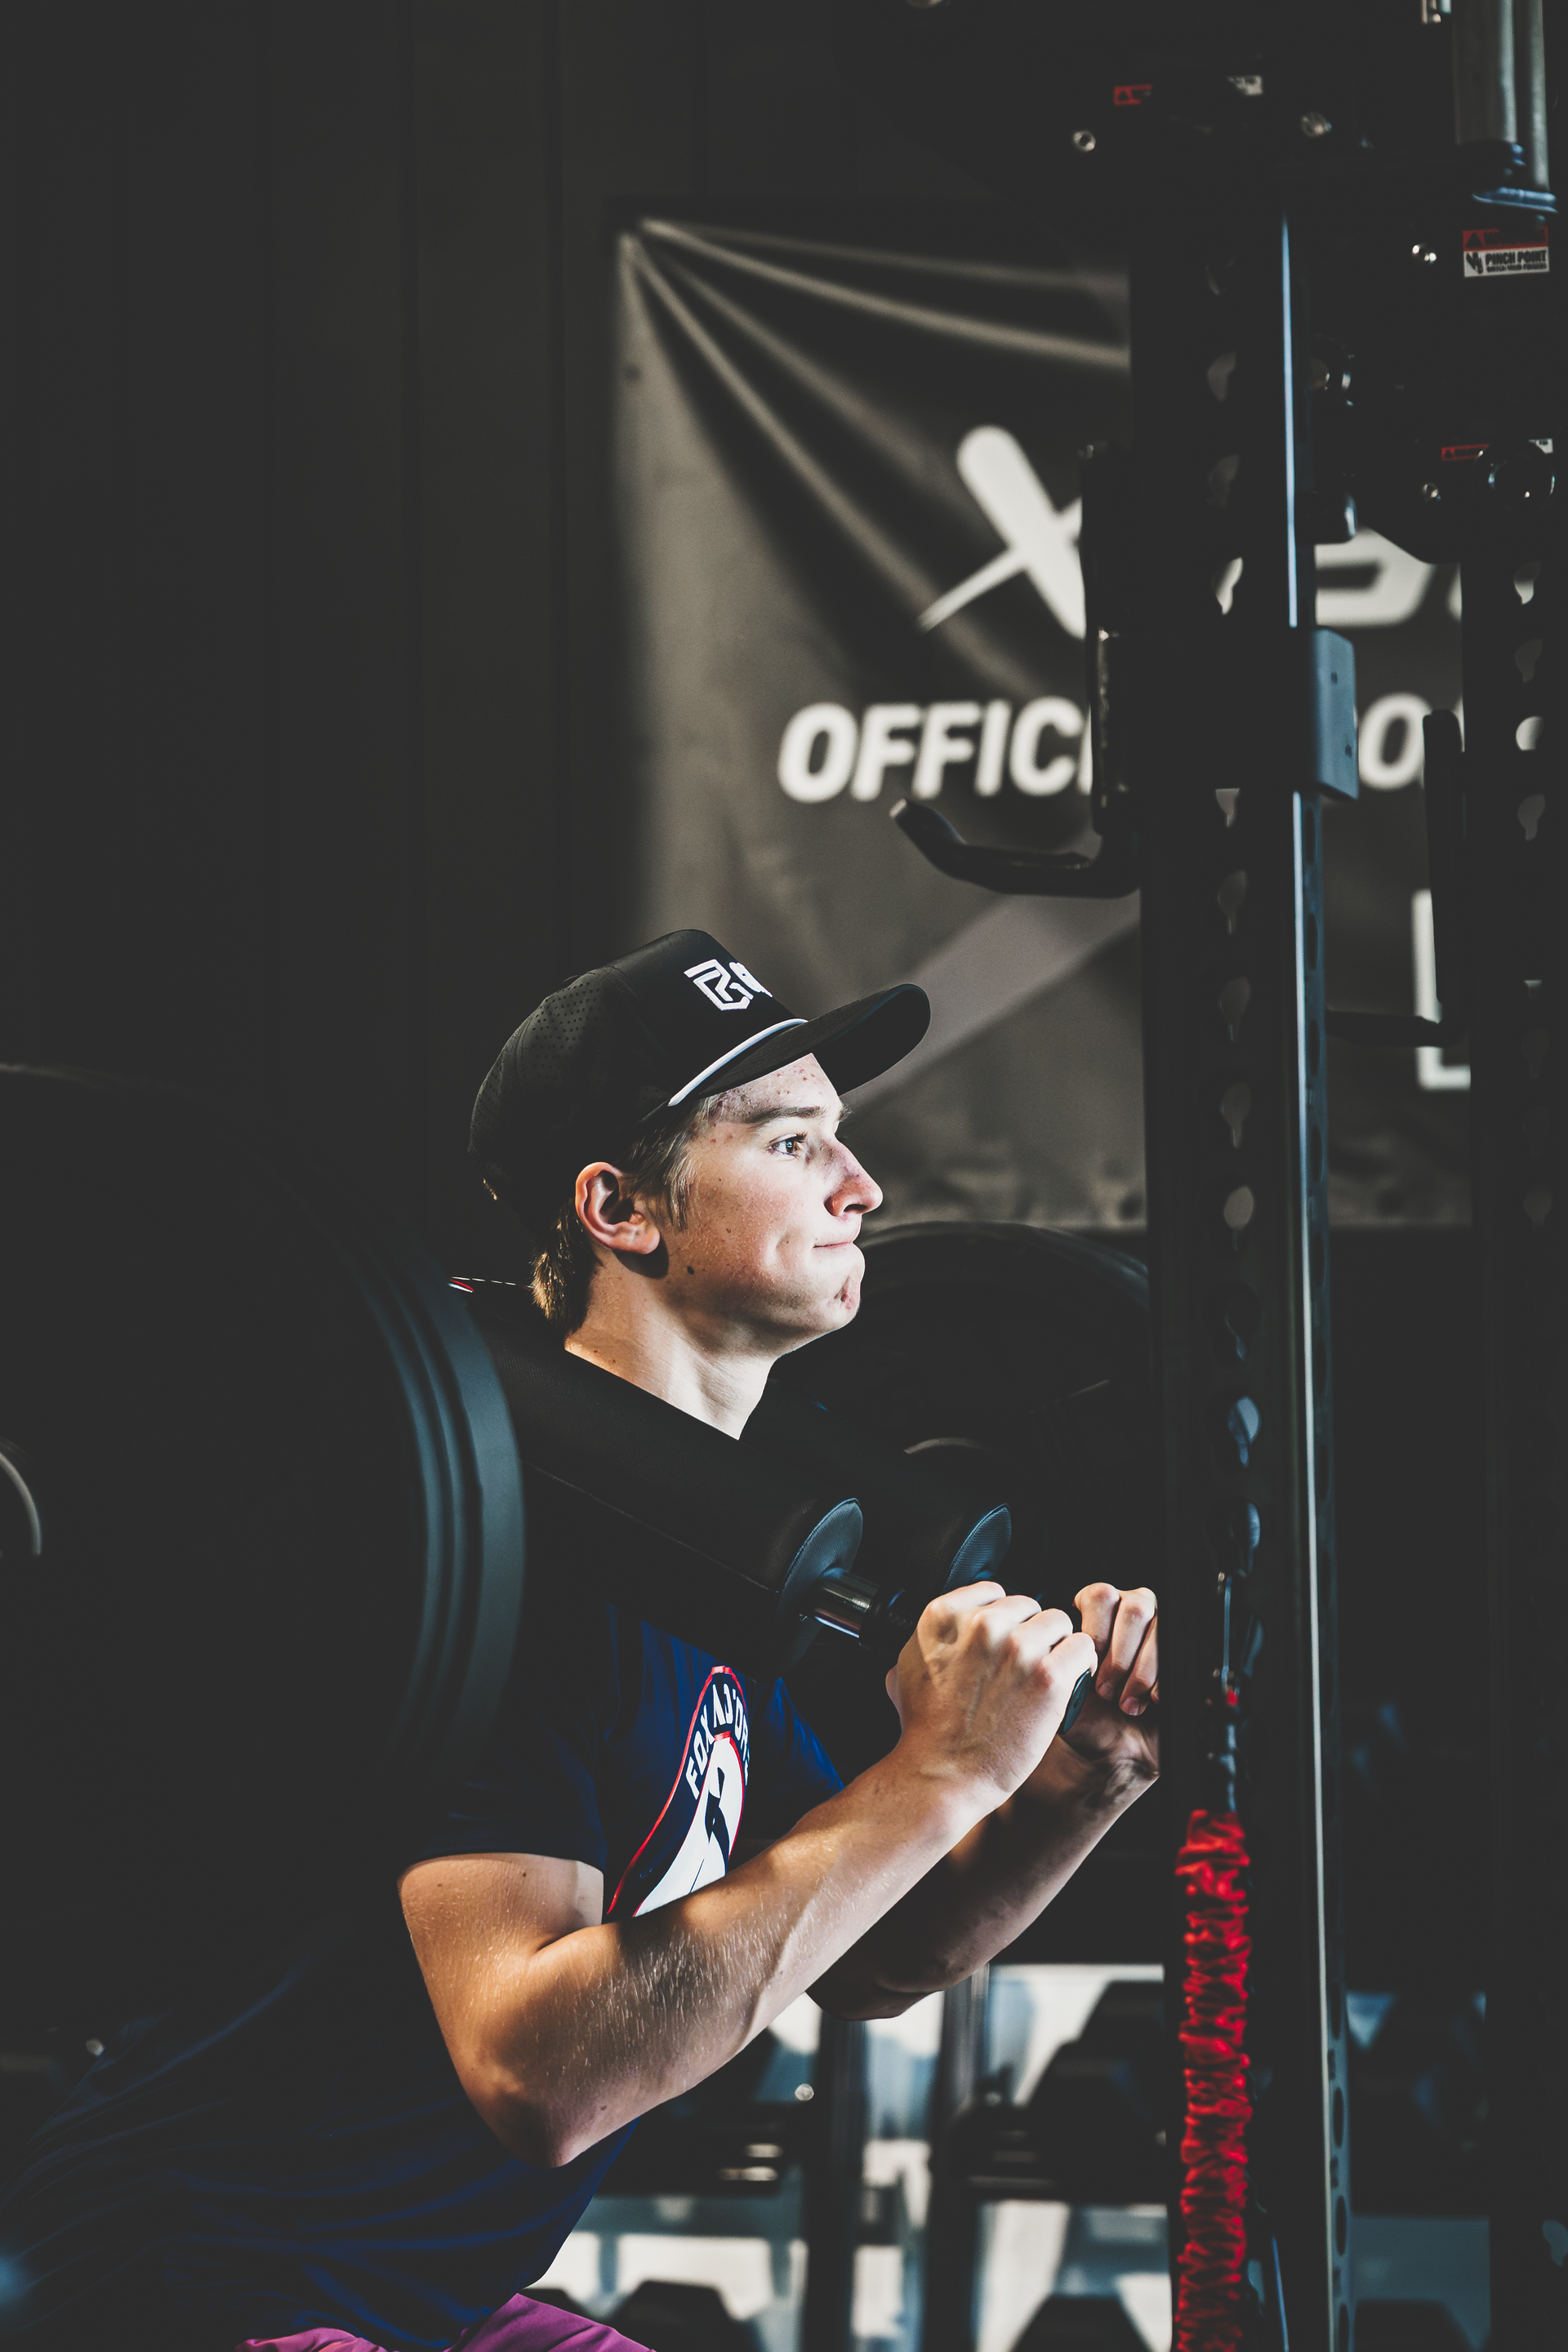
Hockey athlete accelerating during an off-ice sprint session at Ghost Athletica
What Hockey Fitness Testing Measures
Hockey fitness testing is a standardized set of physical tests used to understand an athlete's current off-ice abilities, identify potential development priorities, and track change over time. It does not measure hockey skill or replace on-ice evaluation. It gives you a clearer basis for deciding what to train next.
The four tests in this battery assess:
- Lower-body power: how far your player can project their body forward using both legs.
- Single-leg power and symmetry: how each leg performs on its own, and whether there is a meaningful left-to-right difference.
- Acceleration: how quickly your player covers the first 10 yards from a standing start.
- High-intensity anaerobic capacity: how quickly your player completes a short, all-out bike effort.
A useful snapshot, not a full simulation of repeated hockey shifts.
Guessing Costs Development Time
"Get stronger" is too vague to guide a player's off-ice week. If their main issue is acceleration, adding more general lifting does not automatically fix it. If one leg is producing substantially less power, giving both sides identical work without checking movement quality can leave the gap untouched.
Without a baseline, you can spend months repeating work that does not address the limiting quality. You can also miss a movement difference worth investigating before it becomes more disruptive.
Testing does not promise to prevent injury or predict a player's future. It gives coaches information they can use to make training choices more specific.
Off-ice results should not be treated as a substitute for skating performance. Hockey testing research emphasizes choosing and interpreting tests in context; an off-ice score is one part of the picture, not a direct on-ice ranking. 1, 2
Run the Ghost Athletica Test Battery
For every test, consistency matters. Use the same surface, shoes, equipment, warm-up, rest periods, and time-of-day window when you compare results. Record the protocol and the result, not just the number.
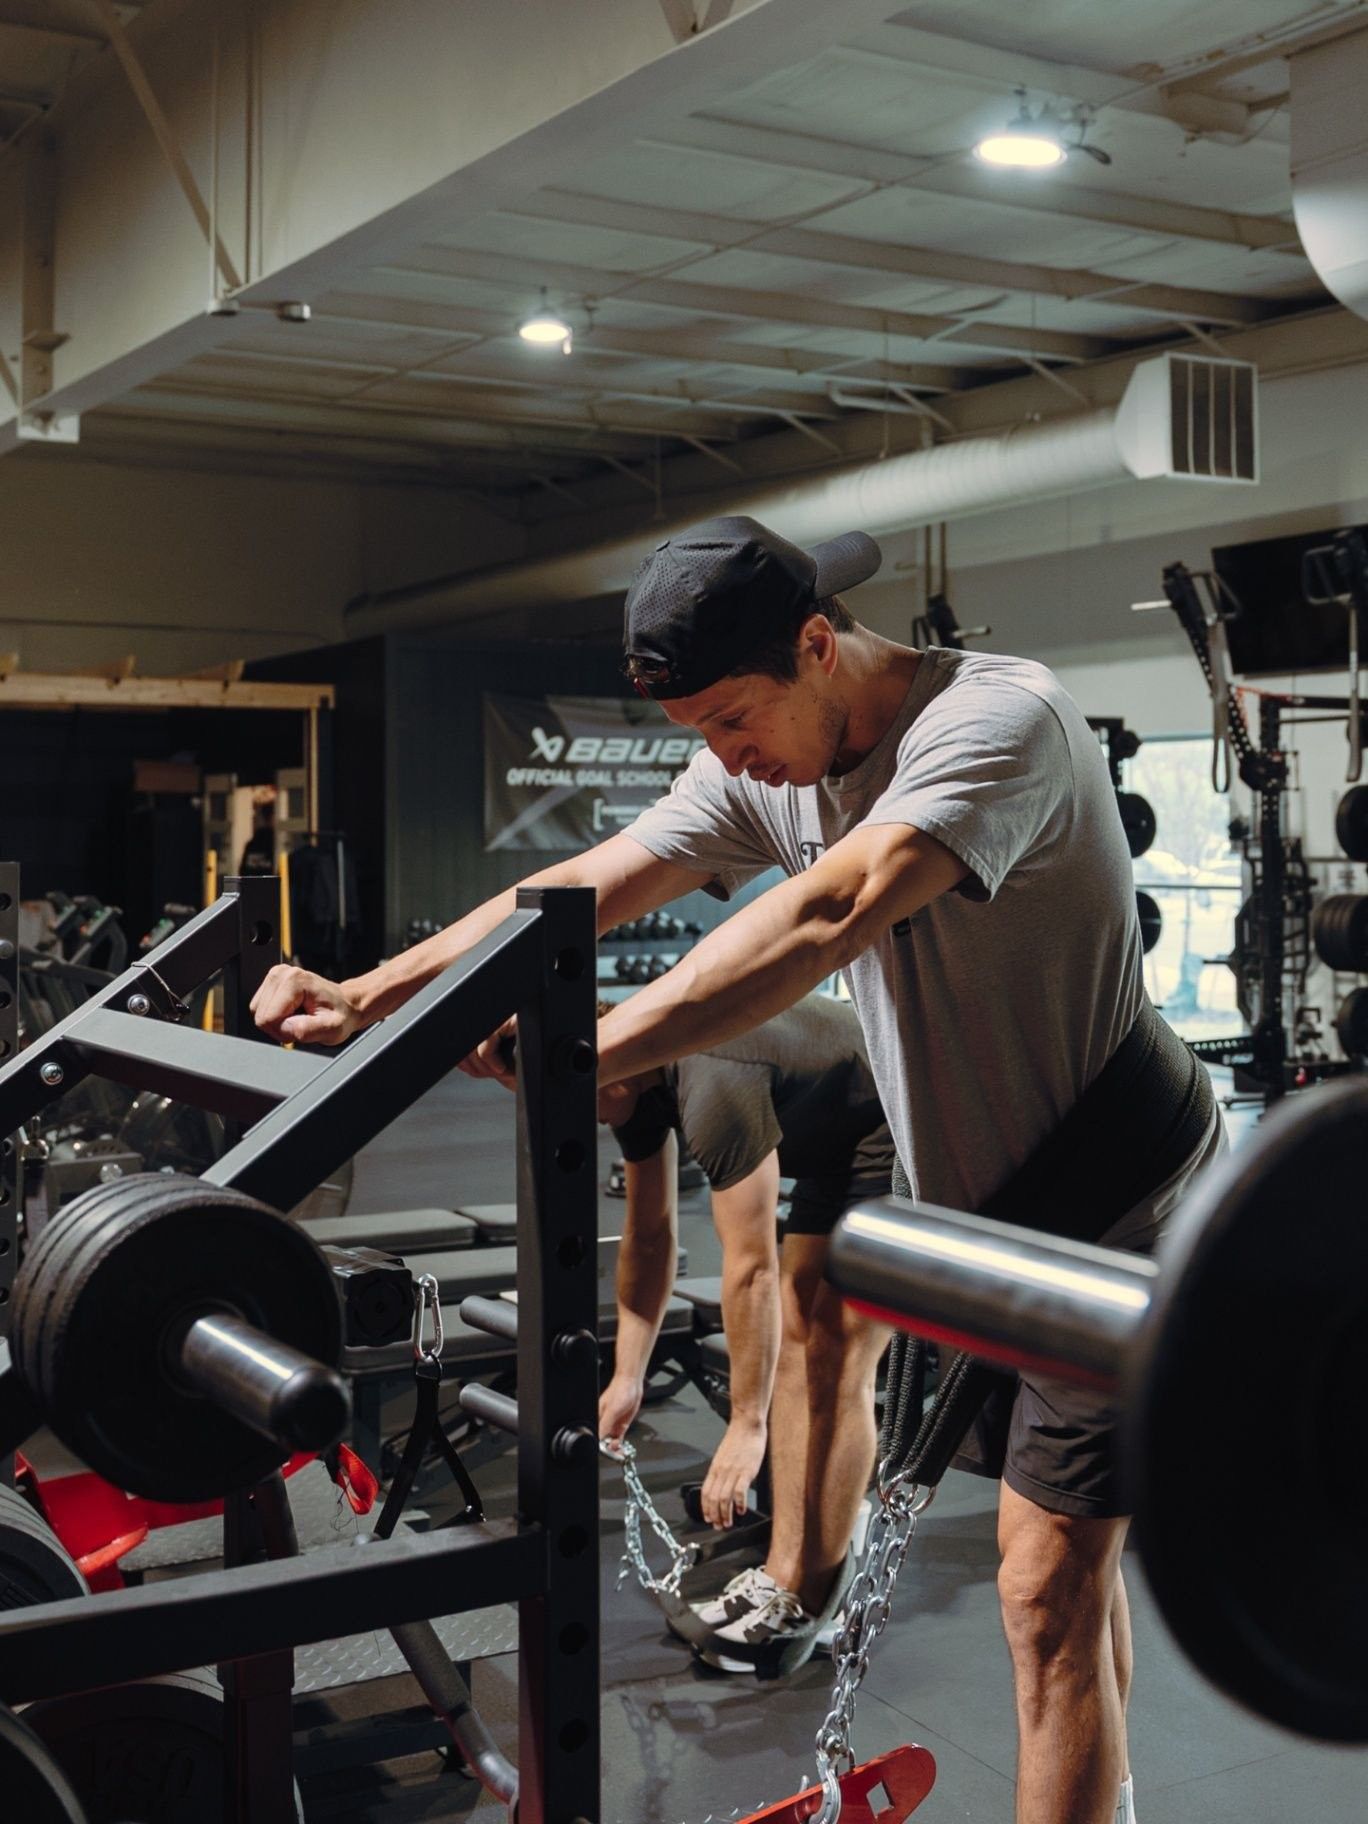
Hockey athlete driving a loaded sled during off-ice power training at Ghost Athletica
1. Standing long jump: measure two-leg power
What it measures: Horizontal lower-body power using both legs together. It provides a simple distance-based snapshot of how forcefully your player can push off and land.
How we run it: Your player starts behind a marked line with both feet planted. They jump forward as far as possible and stick the landing without stepping backward. Measure from the take-off line to the heel closest to that line. Record the best of three attempts.
Equipment: Flat, non-slip floor or turf; measuring tape; start line.
Keep it repeatable: Use the same arm-swing instructions, surface, footwear, warm-up, number of trials, and rest between attempts. Give your player enough rest to jump with intent rather than test under fatigue.
2. Single-leg broad jump: compare left and right
What it measures: Horizontal power on each leg separately, plus the difference between sides. Record the left and right results individually before calculating the percentage difference.
How we run it: From a marked line, your player jumps forward from one leg, lands on that same leg, and holds the landing. Test both legs for the same number of attempts and record the best controlled jump on each side.
Equipment: Flat, non-slip floor or turf; measuring tape; start line.
Keep it repeatable: Keep the take-off and landing rules, arm use, footwear, surface, order of legs, and rest the same. A shaky landing or inconsistent technique makes the distance harder to interpret. Compare like with like.
3. 10-yard sprint: measure initial acceleration
What it measures: How quickly your player accelerates through the first 10 yards from a standing start. It is a short-distance snapshot, not a complete measure of top speed or skating speed.
How we run it: Mark a 10-yard lane and use timing gates where available. Your player starts from the same standing position each time, without rocking into the start. Record the best of three well-rested efforts.
Equipment: Flat turf or track; measured 10-yard distance; timing gates or the same timing system each session.
Keep it repeatable: Use the same start position, lane, surface, shoes, timing method, warm-up, and recovery between sprints. Hand timing and electronic timing are not interchangeable for close comparisons.
4. 20-calorie bike test: measure a hard conditioning effort
What it measures: The time it takes your player to complete 20 calories as fast as possible on a stationary or air bike. This is a short, intense conditioning snapshot. It does not by itself tell you how well your player repeats every shift in a game.
How we run it: After a consistent warm-up, set up the bike the same way each time. Your player completes 20 calories at maximum sustainable effort while a coach records the finish time.
Equipment: Air bike or stationary bike with a calorie display; stopwatch as backup; consistent seat and handle settings.
Keep it repeatable: Use the same bike, display settings, setup, warm-up, rest before the test, and time-of-day window. Do not compare times from different bike models as if they were identical.
Read the Numbers in Context
The ranges below are Ghost Athletica's own team testing norms collected across the teams we work with this season. They describe average reference ranges for those groups. They are not published research, pass/fail cut lines, or guarantees of on-ice performance.
- Standing long jump:
average distance
- 12U: 150 to 175 cm
- 14U: 175 to 200 cm
- 16U: 200 to 220 cm
- 18U / junior: 220 to 250 cm
- Single-leg broad jump:
average distance across left and right
- 12U: 120 to 140 cm
- 14U: 140 to 160 cm
- 16U: 160 to 180 cm
- 18U / junior: 180 to 200 cm
- 10-yard sprint from a standing start:
average time
- 12U: 2.10 to 2.30 seconds
- 14U: 1.95 to 2.15 seconds
- 16U: 1.80 to 2.00 seconds
- 18U / junior: 1.70 to 1.90 seconds
- 20 calories on an air bike or stationary bike:
average time
- 12U: 45 to 55 seconds
- 14U: 40 to 50 seconds
- 16U: 35 to 45 seconds
- 18U / junior: 30 to 40 seconds
A player's body size, maturation, position, training age, and test-day readiness matter more than one comparison to an age-group range. Use these numbers as a reference, not a label. Look first at your player's own trend and the qualities that matter for their goals.
Act on a 10% Left-to-Right Gap
In our first round of team testing this season, the biggest gap was not strength or speed. It was asymmetry. Roughly a third of the players we tested had a single-leg broad-jump difference greater than 10% between legs.
Calculate the gap as the stronger-leg distance minus the weaker-leg distance, divided by the stronger-leg distance, then multiply by 100. A difference of 10% or more is a number coaches should act on: check the test quality, look at how the athlete controls each landing, and decide whether more assessment or targeted training is needed.
Why pay attention? A side-to-side difference can show up in how a player produces or absorbs force before it shows up on a scoreboard. It may be relevant to skating mechanics and injury-risk discussions, but a jump result alone cannot diagnose an injury or predict one. Confirm the result and consider pain, injury history, movement quality, and the rest of the player's testing picture before changing the plan.
Turn Test Results Into a Training Plan
- Check the test before changing the program. Confirm the player understood the instructions and that conditions were consistent. Repeat a questionable result rather than building a plan on a bad trial.
- Identify the clearest priority. Low two-leg jump distance points toward a power question. A 10% or greater left-to-right gap flags a symmetry question. A slower sprint flags an acceleration question. A slower bike time flags a conditioning question.
- Choose targeted work. Build power with appropriately coached strength and jumping progressions. Address a symmetry gap with controlled single-leg strength and landing work. Train acceleration with short, high-quality starts and full recovery. Build conditioning with planned intervals that fit the player's schedule.
- Adjust the week, not just the workout. Place the work around practices, games, recovery, and the player's training age. Do not pile extra volume onto an already full week without a reason.
- Retest in 8 to 12 weeks. Compare results under the same conditions. Weekly testing adds noise and can distract from the training needed to make progress.
Make Testing Part of the Full Development Plan
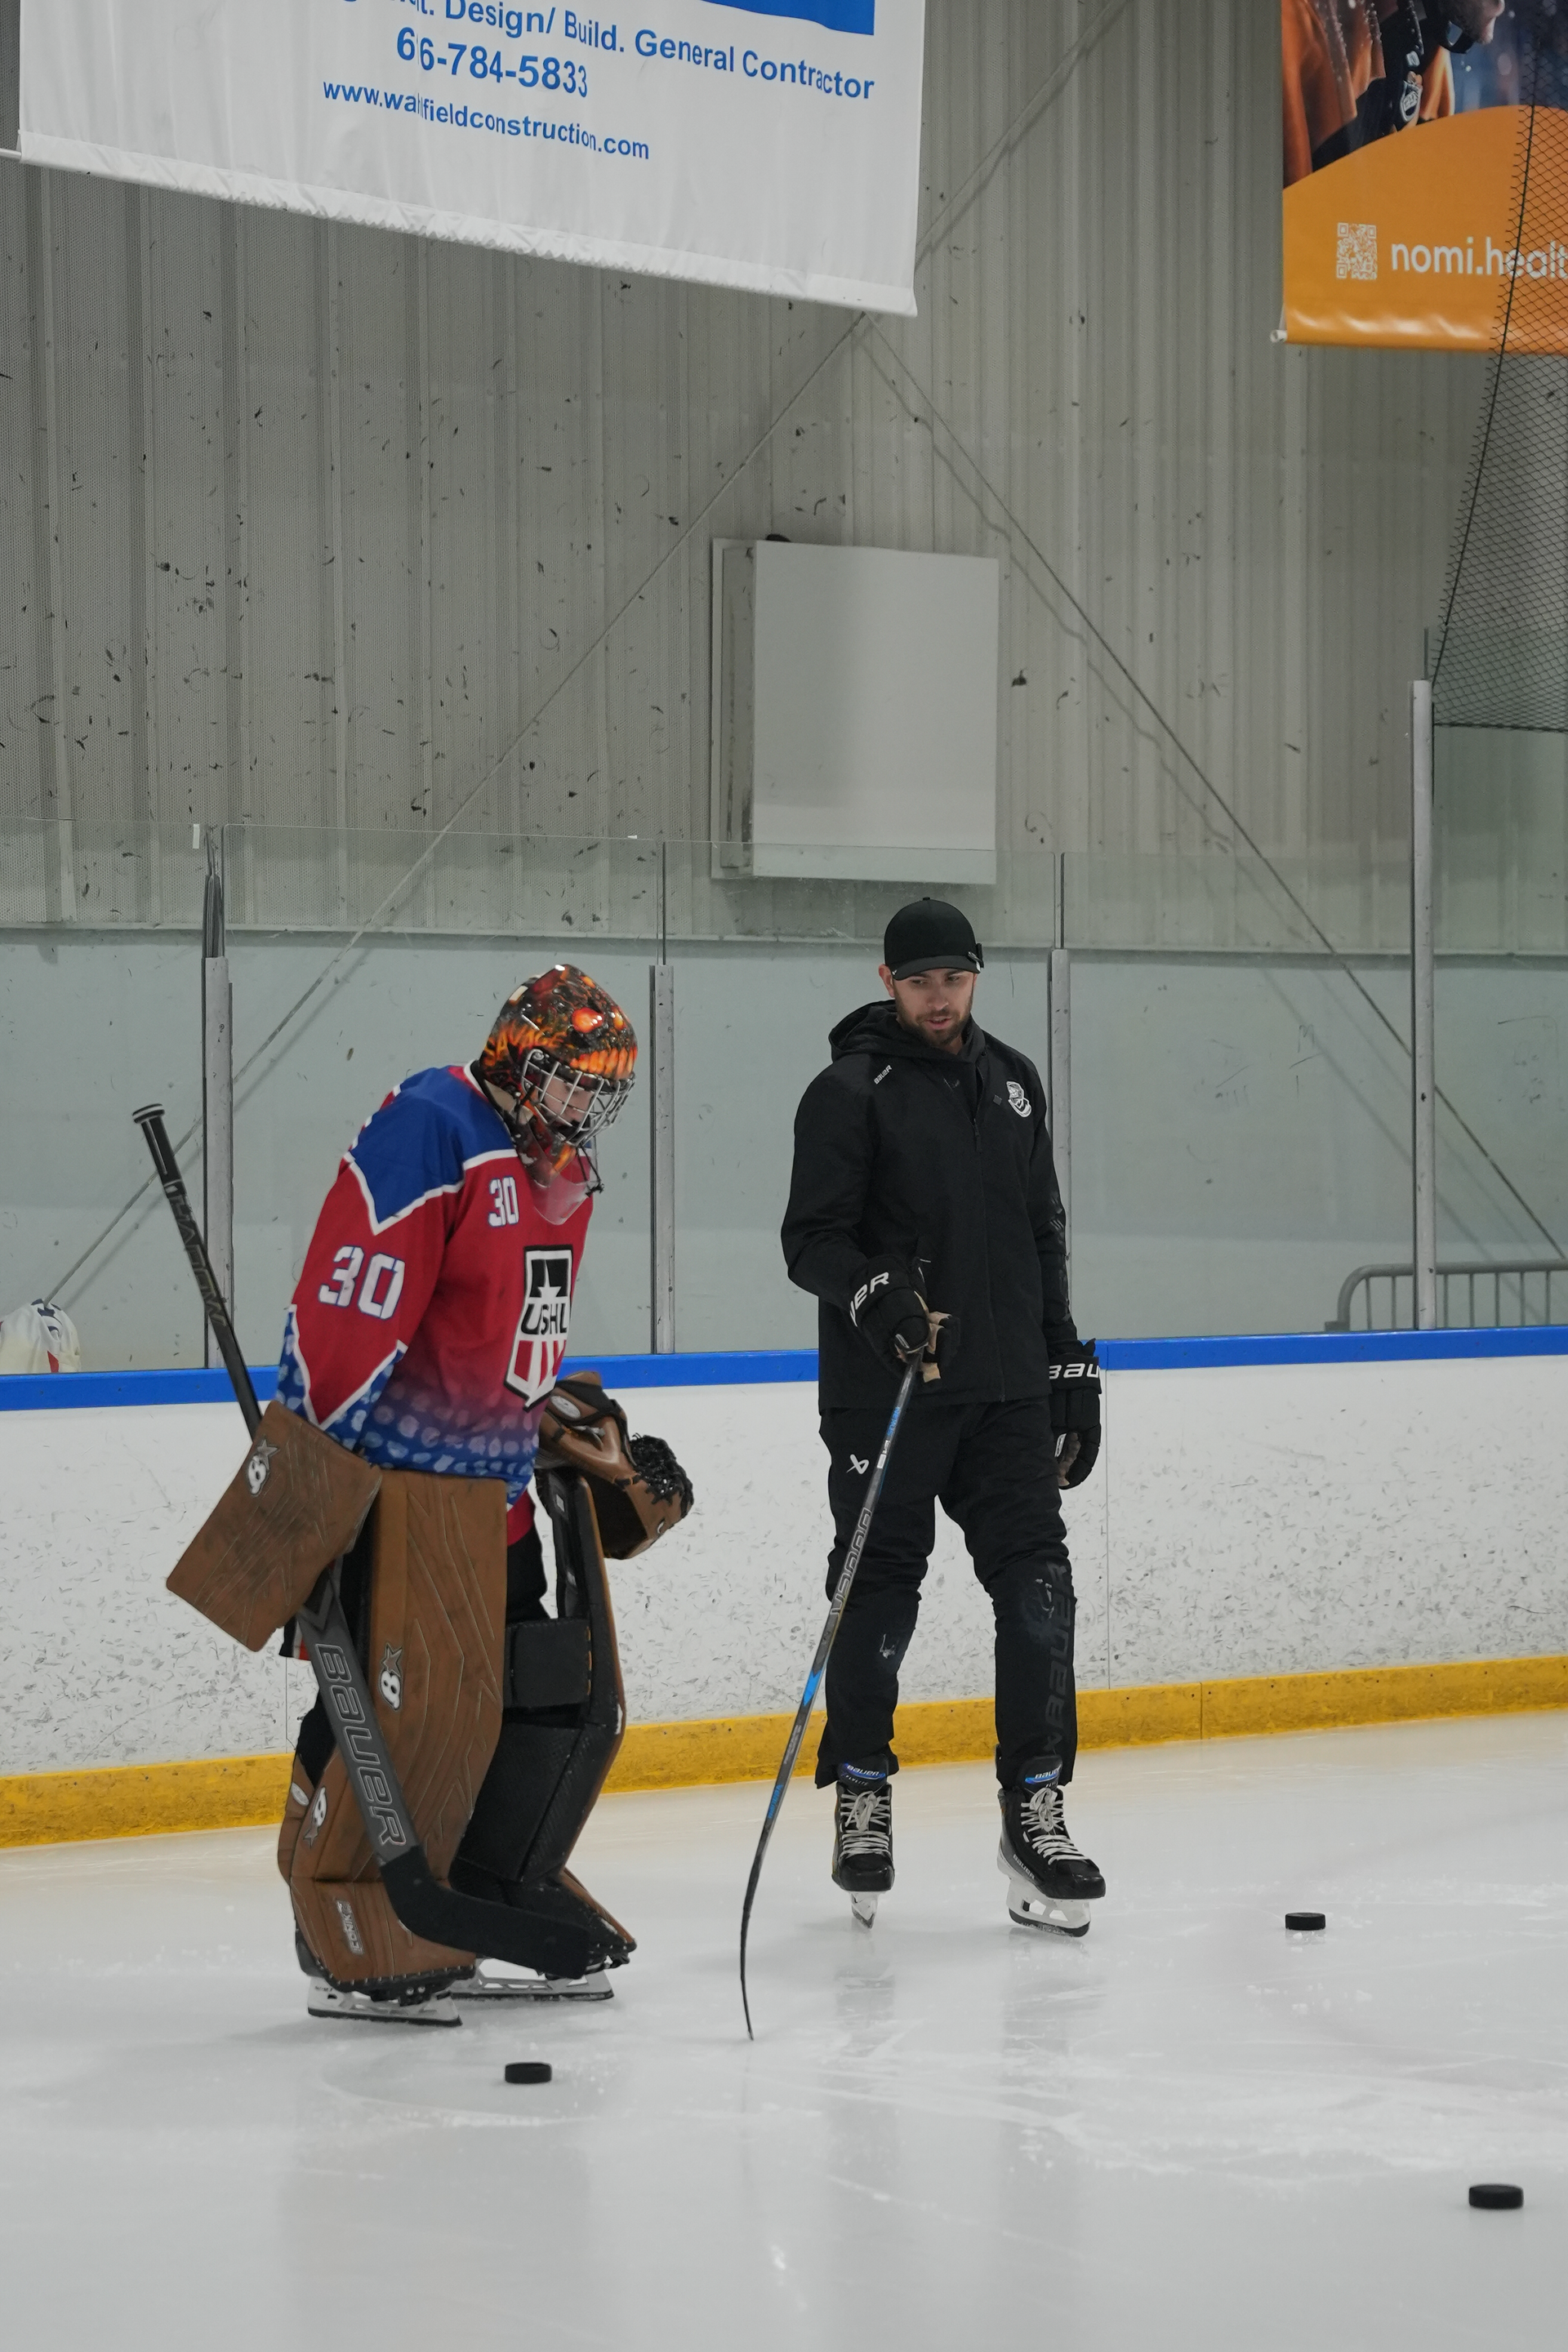
Testing is not a standalone product or a substitute for coaching. It helps inform an individual plan across in-person performance training, remote performance training, goalie training, skill development, power skating, nutrition, physical therapy and rehabilitation, and mindset coaching.
For a goalie, the same broad performance picture still matters; the plan needs only small tweaks to reflect the position's demands. Your results can also guide which training resources make sense, including the Complete Hockey Program, the Speed Lab, and the Complete Off-Ice Training Guide.
Who This Is For
This is for players and parents who are serious about development and want a clear starting point, a targeted plan, and a reason to retest. It is for athletes willing to train consistently, take coaching, and use the results to make decisions, not chase a flattering number.
It is not for anyone looking for a one-off score to post, or anyone unwilling to retest and train. A number without follow-through is just a number.
Get Your Questions Answered
Is testing worth it for a 12U player?
Yes, when it is age-appropriate, coached, and interpreted as a starting point, not a ranking. At 12U, growth and maturation can change performance quickly, so use the results to guide safe development and track the player against their own progress.
How often should my player test?
Retest every 8 to 12 weeks when the goal is to see whether a training block changed the result. Keep the test conditions consistent and avoid treating small week-to-week changes as meaningful progress.
Can my player test remotely?
Some parts of the battery can be completed remotely if the player has a measured space, appropriate equipment, clear instructions, and a reliable way to record results. For comparisons over time, use the same setup and have a coach review technique; equipment differences can make results difficult to compare.
Will testing tell me if my player is ready to return from injury?
No. This test battery is not a return-to-play clearance tool. Clearance is a clinical decision made with a physical therapist; Ghost Athletica pairs testing with rehab under one roof so the player's progress can be assessed in context.
Book the Next Step. Stop Guessing.
Book a testing session or performance assessment through the Ghost Athletica booking platform. We also provide testing for teams. Bring your questions, your player's training schedule, and any recent injury context. We'll identify what the numbers show, and what to do next.
Stop guessing. Measure it. Train what matters. Retest.
References: 1 Frontiers in Sports and Active Living, 2023: hockey testing research. 2 Frontiers in Sports and Active Living, 2024: hockey testing research.